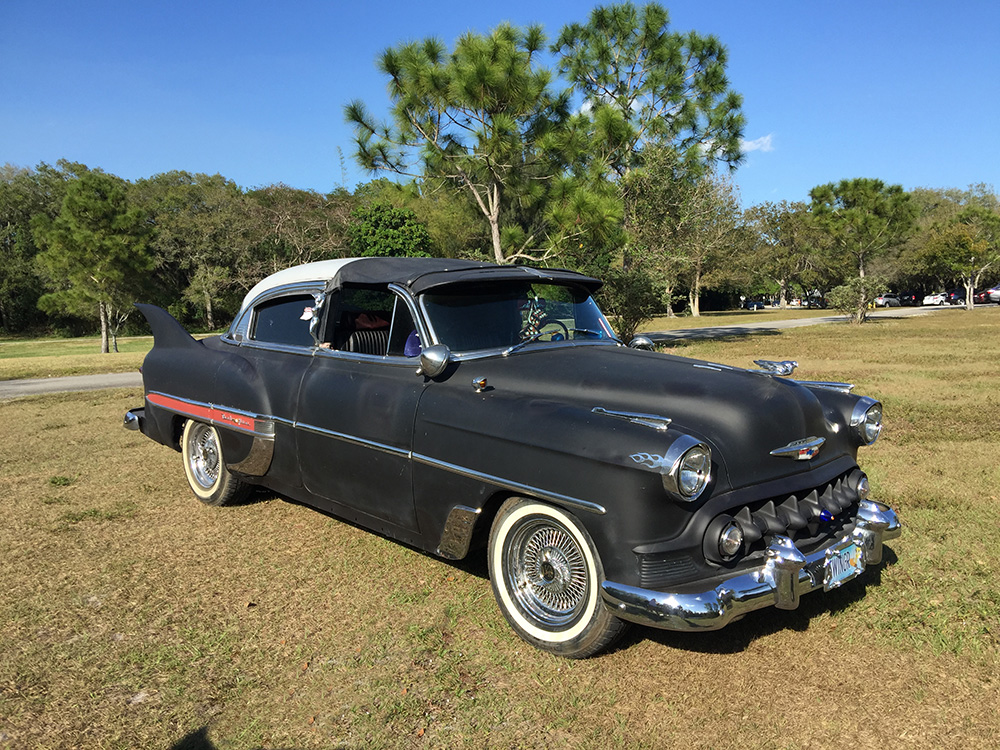
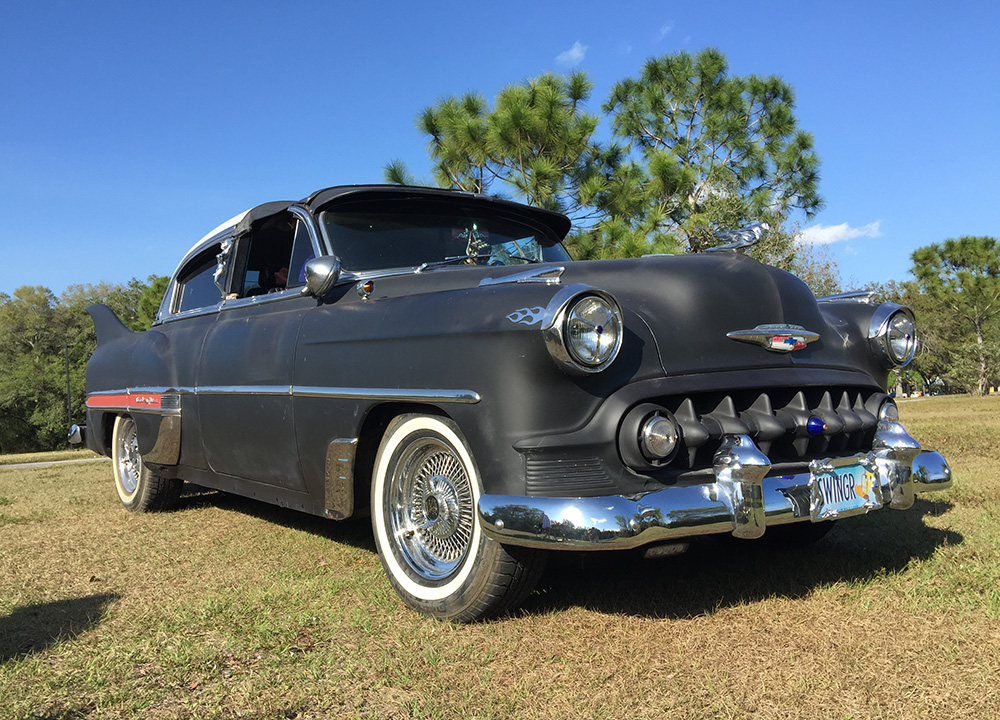
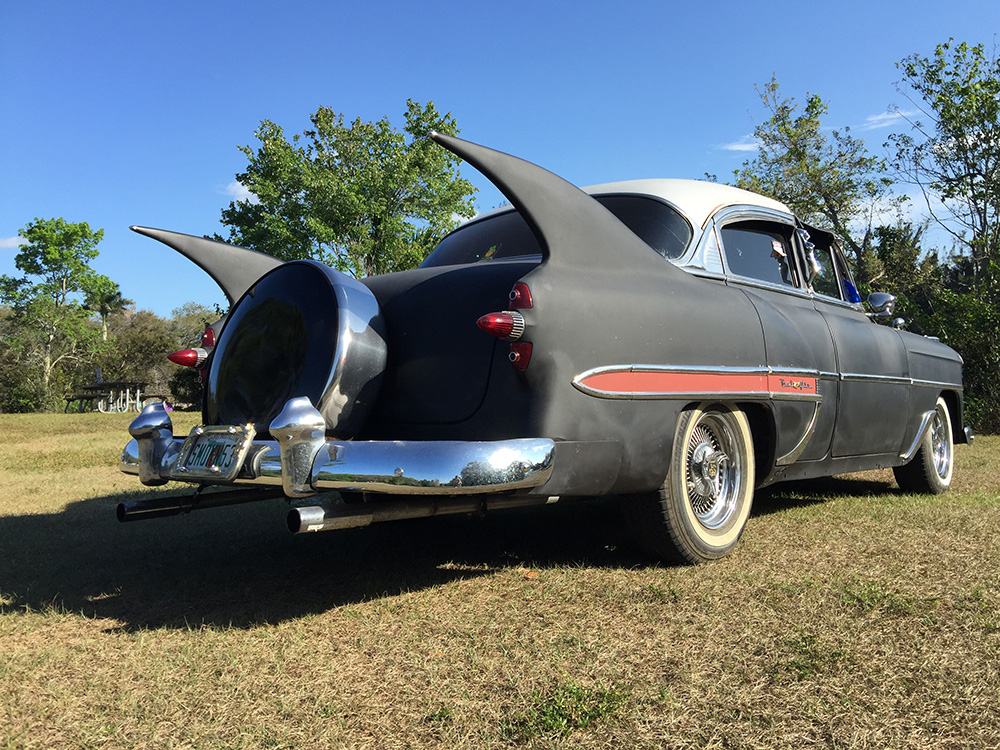
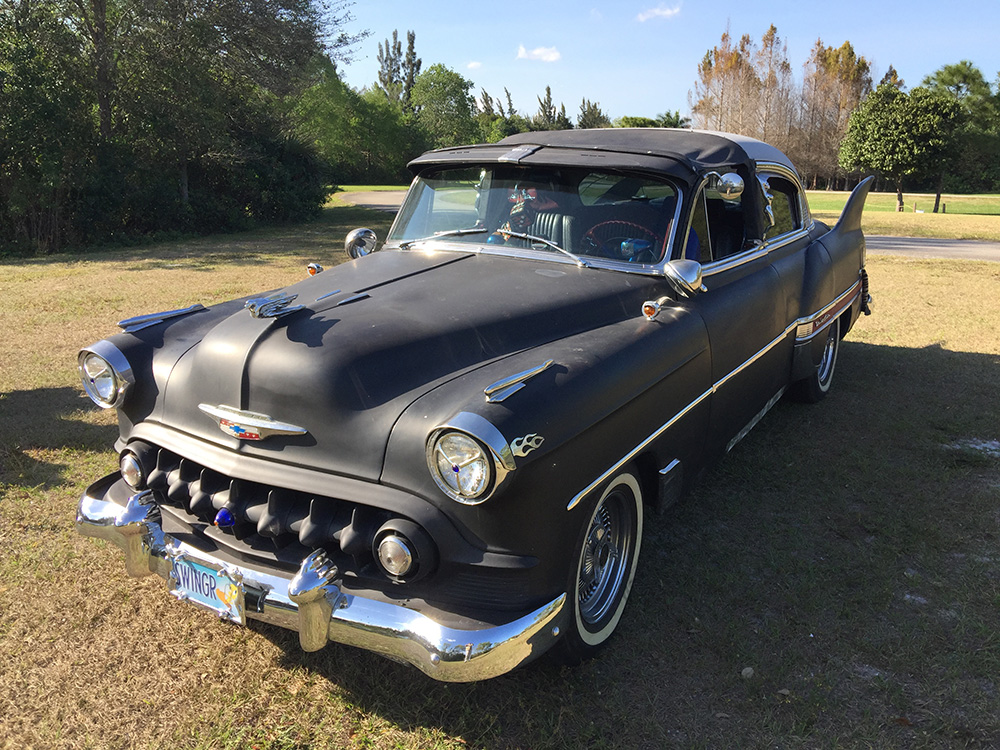
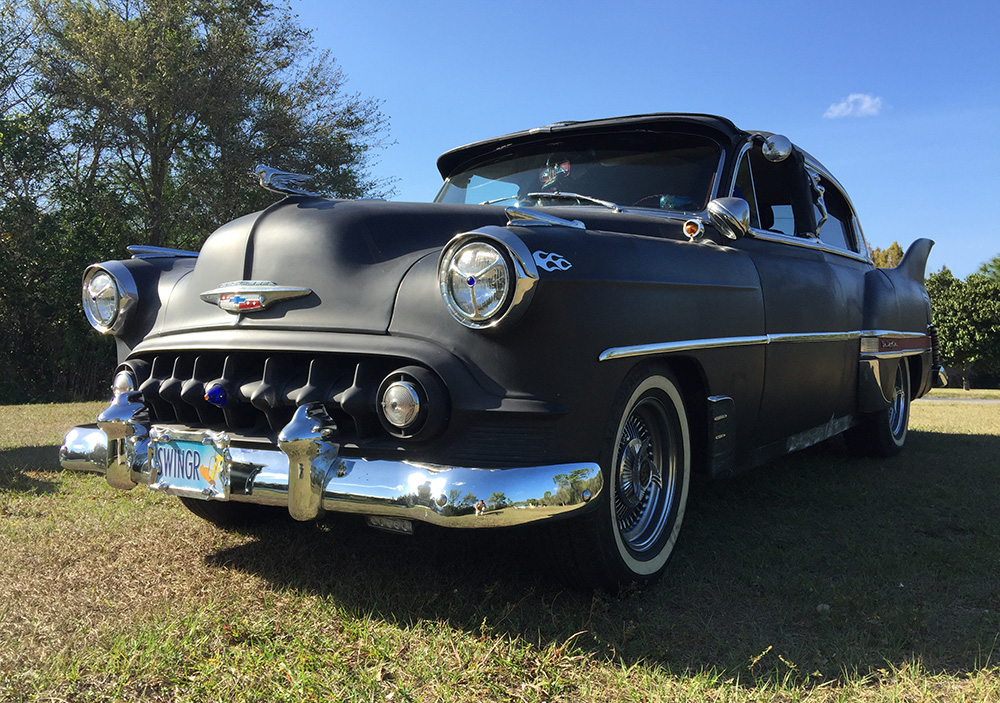
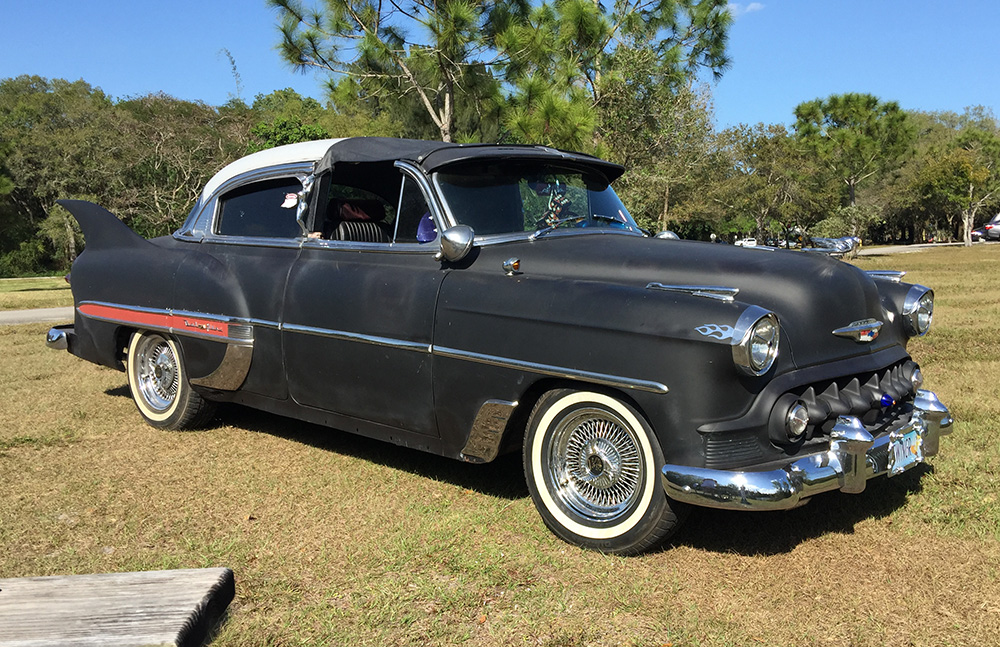
Near the end of 2019, when I realized that the 20th year of working on the custom job was coming up, I decided I couldn’t put it off any longer: Being in primer for 12 years was too long. I had to paint the car.
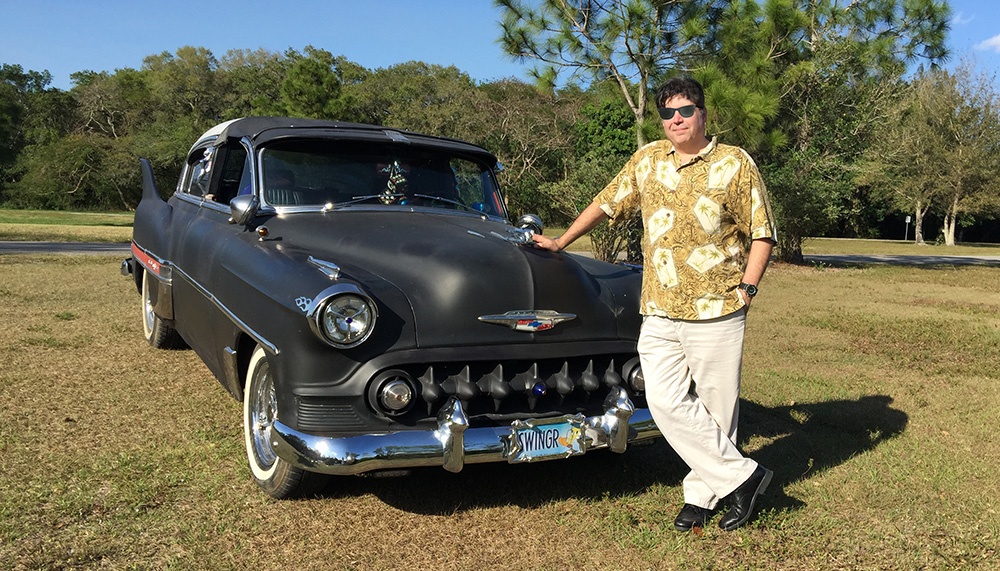
Oh, I did enjoy driving her all those years, and did a little body work here and there when I could. I just had too many other projects going on to commit to the couple of months I knew it would take to prep, paint, and polish her. Those projects included writing three paranormal murder mystery novels and doing renovations on our house.
But the thought of seeing Stardust all nice and shiny was always on my mind. I spent a lot of time thinking about color combinations, types of paint, and whether I would spray it myself or have a pro do it. I had sprayed a couple of cars in the past…a long time ago…and had done the primer on this car several times. But I never shot 2- or 3-stage paint, pearl, or metal flake.
I always wanted to do a dark purple. I had thought about other combos…all white, which would have looked sumptuous and rich; gloss black, maroon, dark blue, all metallic or pearl. Then while researching paints, I found this “Intruder Purple Pearl”. Man…gloss black, and lights up purple when the sun hits it? I was hooked. Two-stage polyurethane, inexpensive, and according to several sources easy to shoot. If I was going to do it myself, I knew there was going to be a learning curve, and I prepared myself for the fact I may have to do some re-sprays. That was ok.
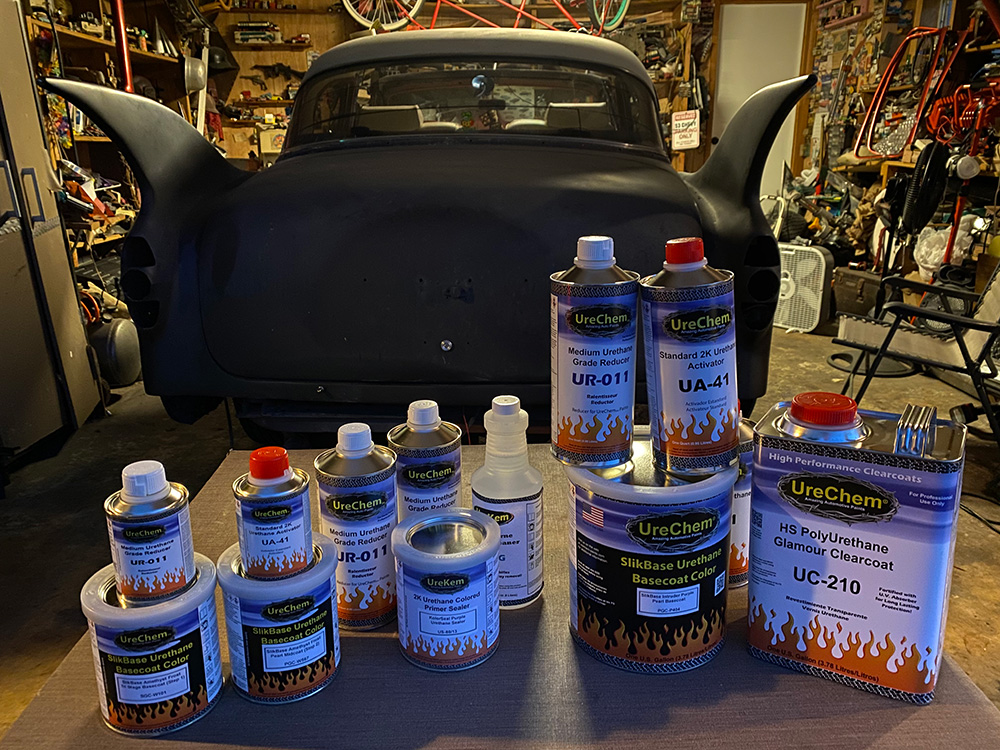
I tried to find a paint booth to rent but couldn’t find any near me, so I decided to do a garage spray booth.
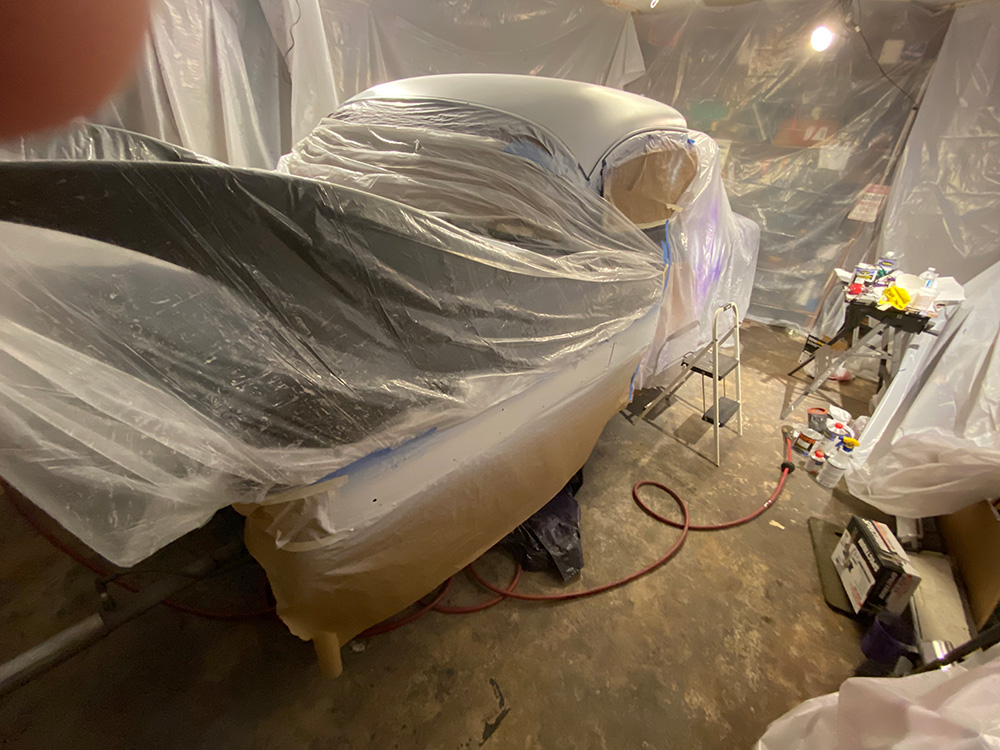
I started spraying her in February, 2020. I did the top first. It didn’t come out right…had crazing issues, so I had to sand it down and do it again. Then I did the beauty panels. Had some issues there too…and didn’t like the amethyst frost pearl (it just looked white), so I redid those in deep red, then shot metal flake (sparsely) over the metallic. I shot metal flake on the roof too, not heavy, just a light coat to give it that “star dust” look.
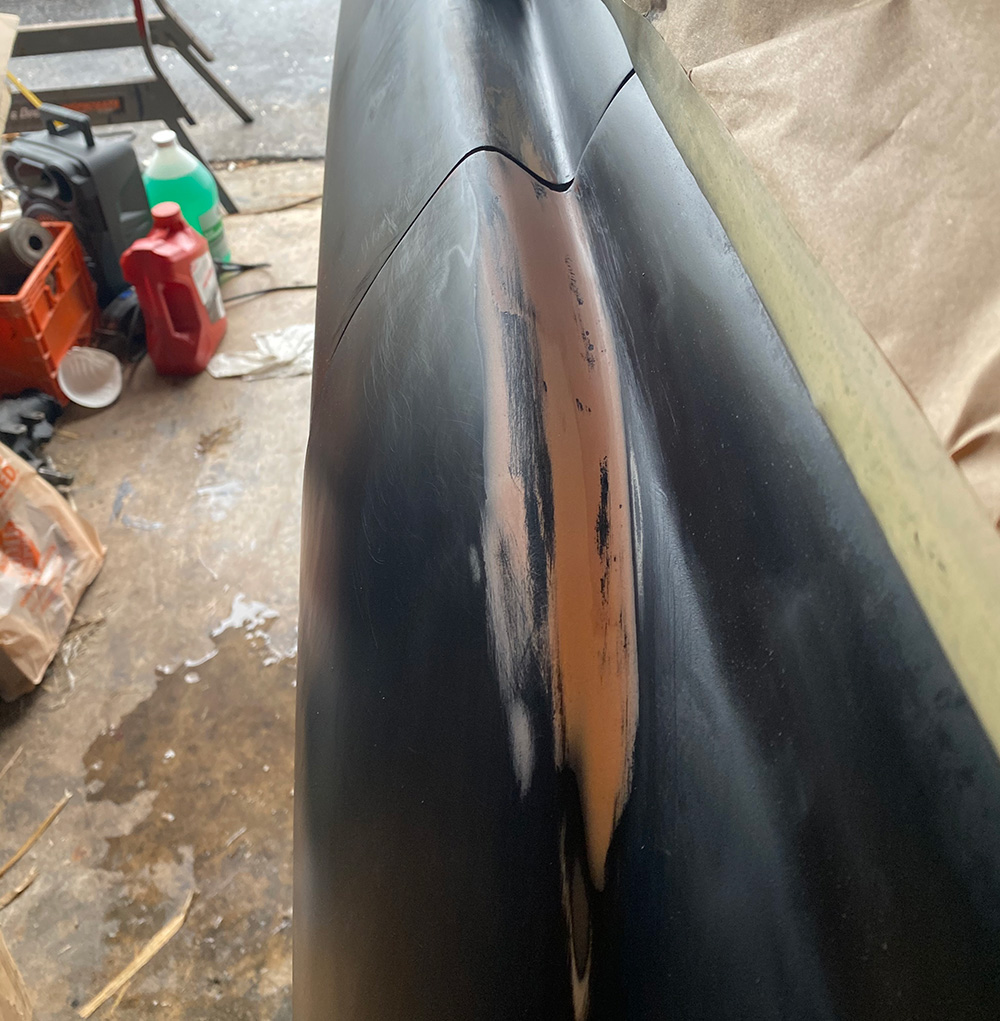
Final fin work on the Chevy 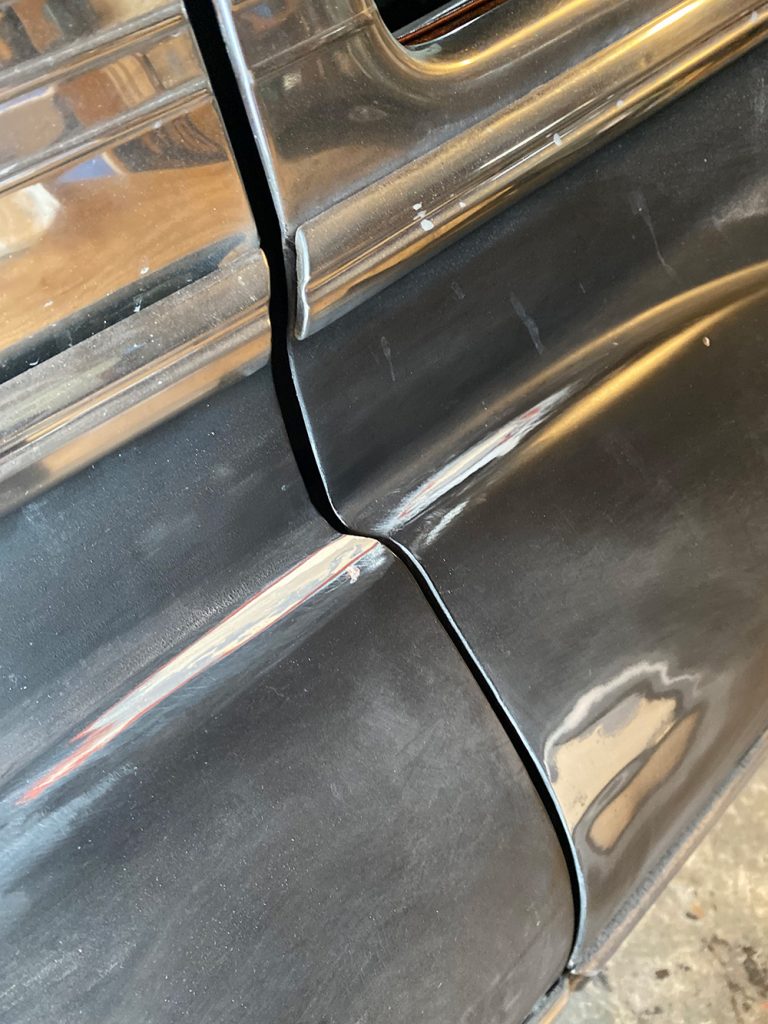
Final Fin Work on the Chevy 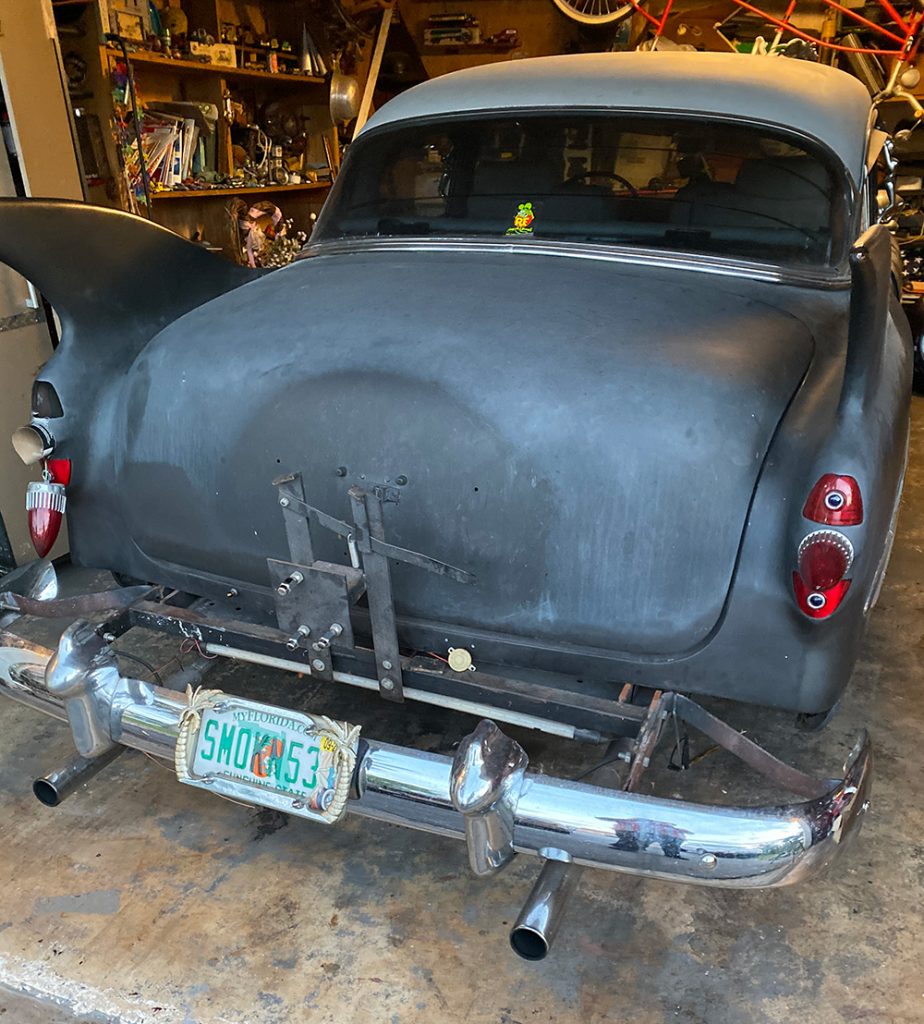
Starting to take the Chevy apart for paint 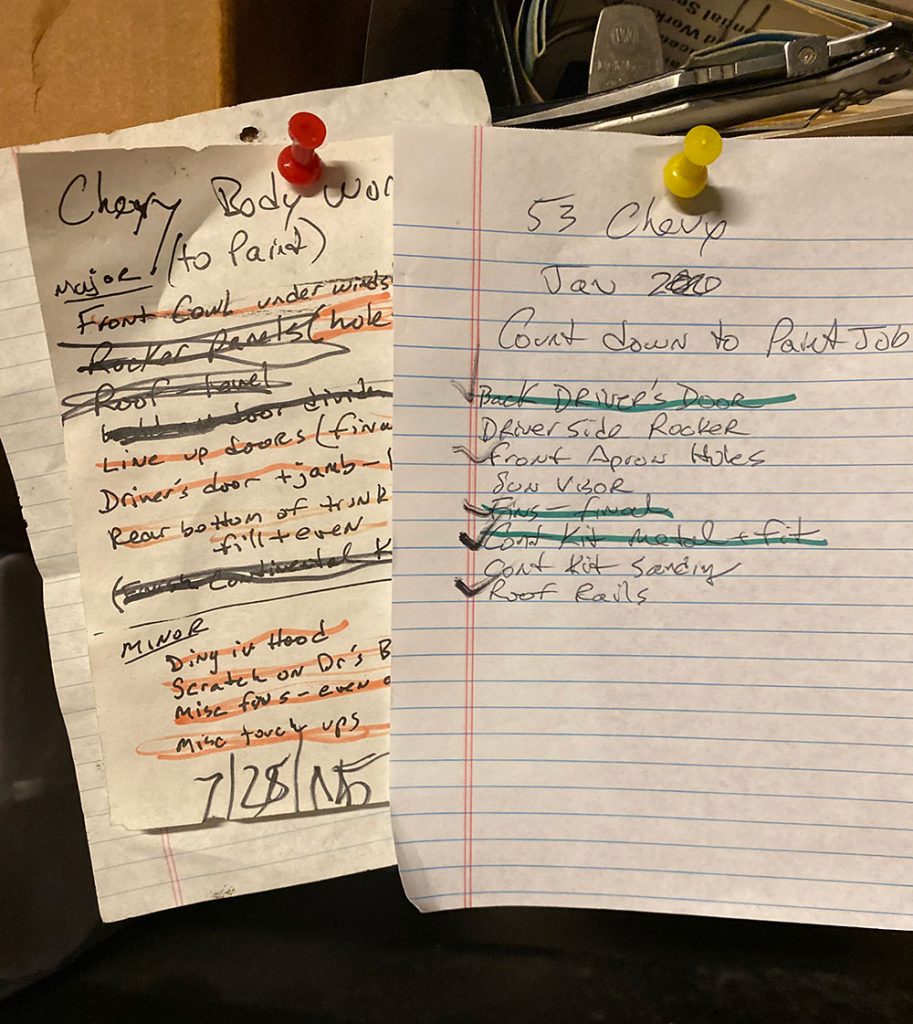
Bodywork Notes, 2015 & 2020 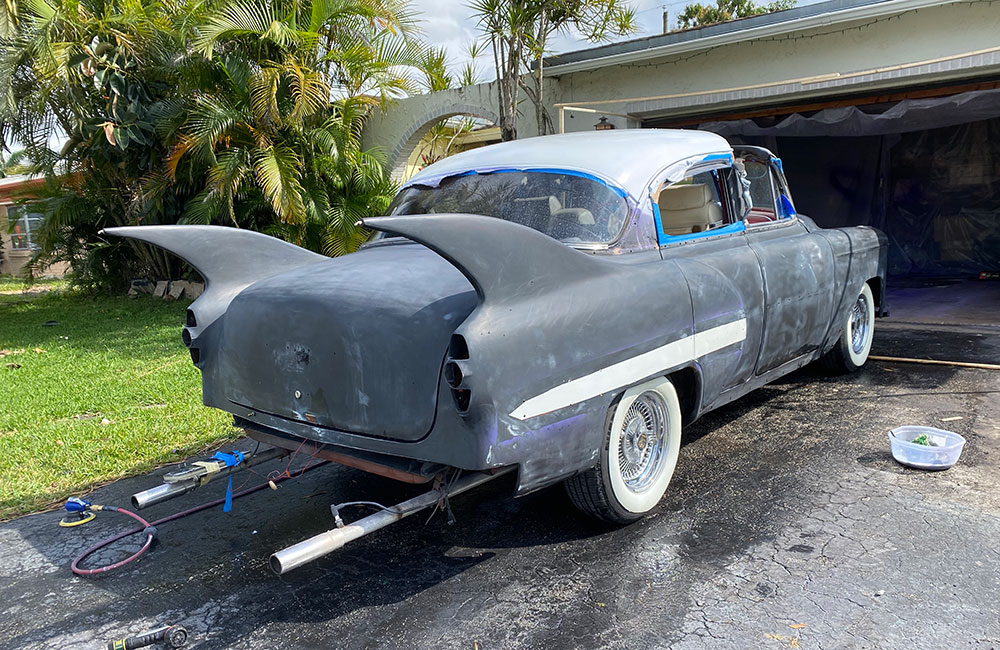
Sanding and prepping the body for paint 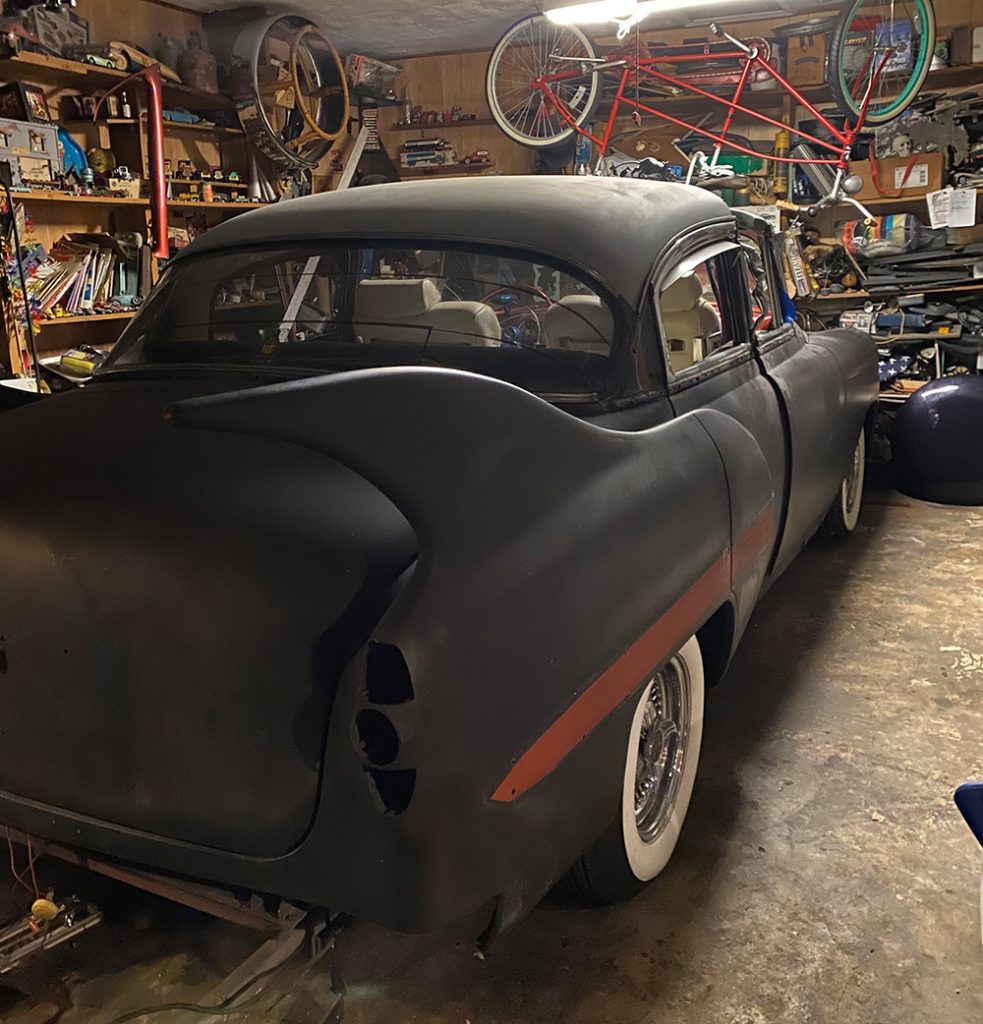
Chrome and stainless steel removed 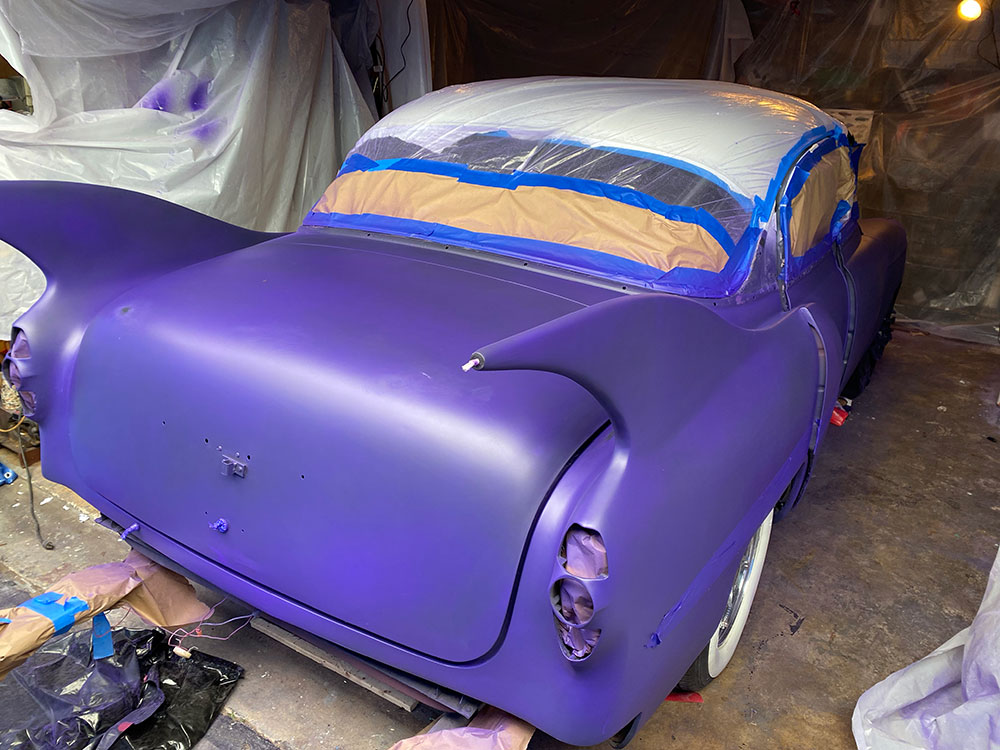
Primed in purple. This would have been nice as a satin finish.
Finally I shot the body, purple primer first, then the base coat, then the clear. Again…a learning experience. I was proud that I only had three runs on the whole car, but I did manage to spray too lightly in some areas, and wound up with orange peel over the whole car. That meant a lot of sanding…too much. Yup, I burned through in a couple of places. No big deal…reshot the base, reshot the clear, sanded, shot a second “flow coat” of clear and got much better results. But it was hard work…I found quickly that I was not very good with the DA sander, so I sanded everything by hand. A great workout.
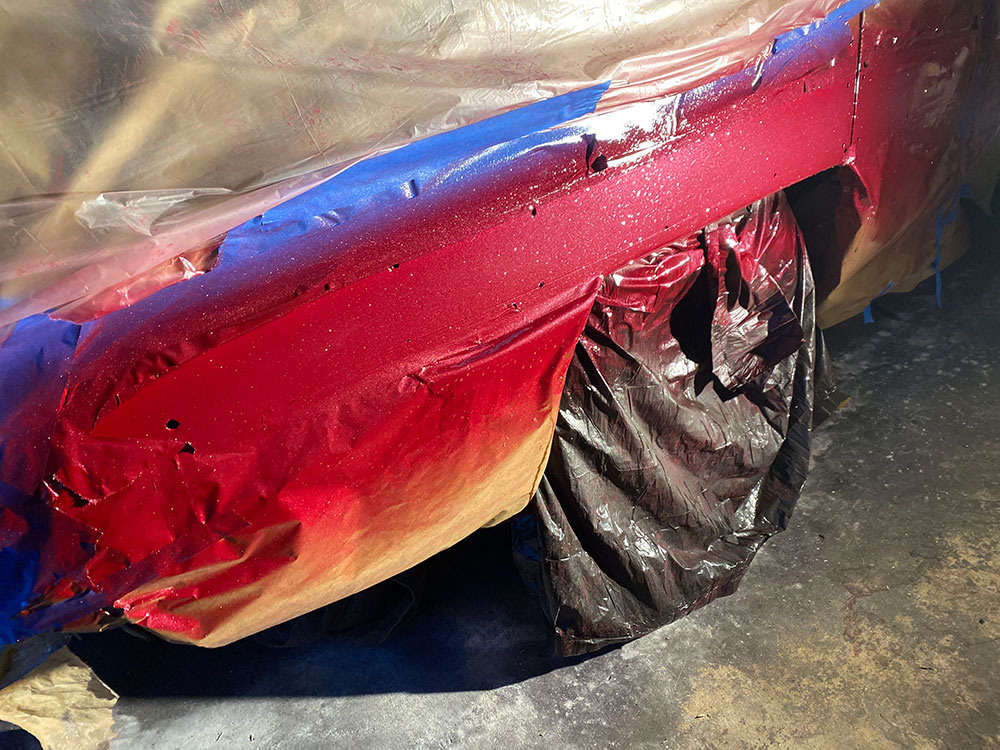
Beauty Panel Metallic and Metal Flake 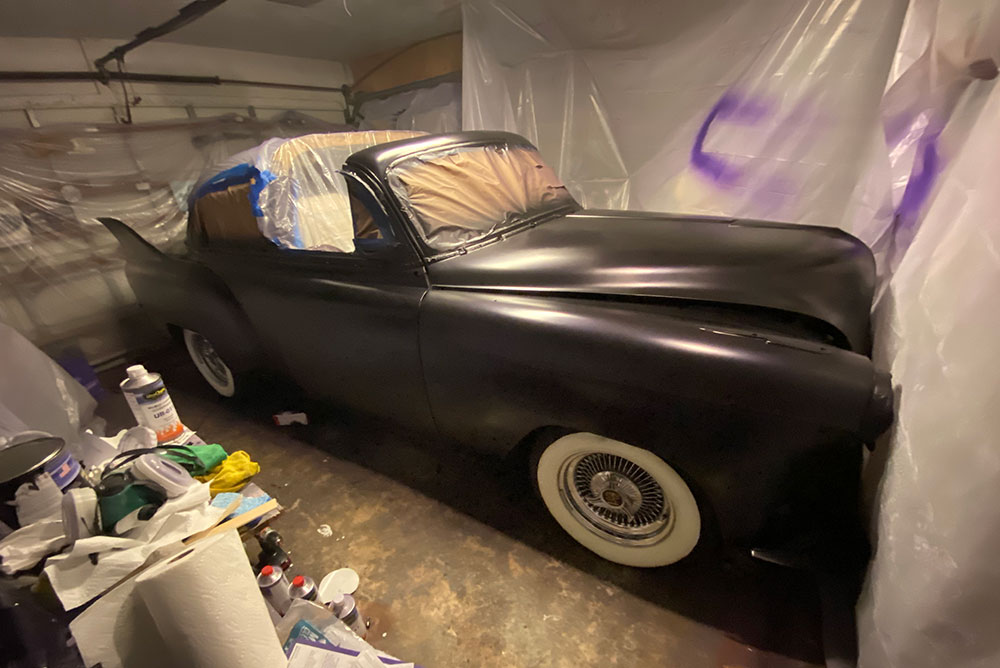
Base Coat on! 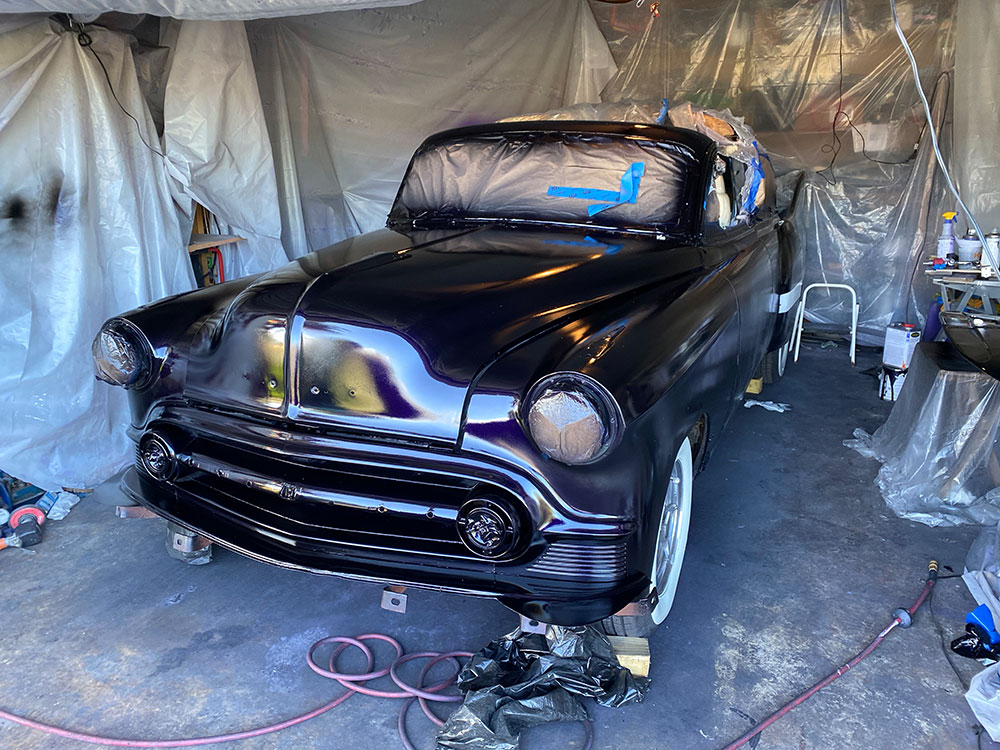
Clear Coat On! 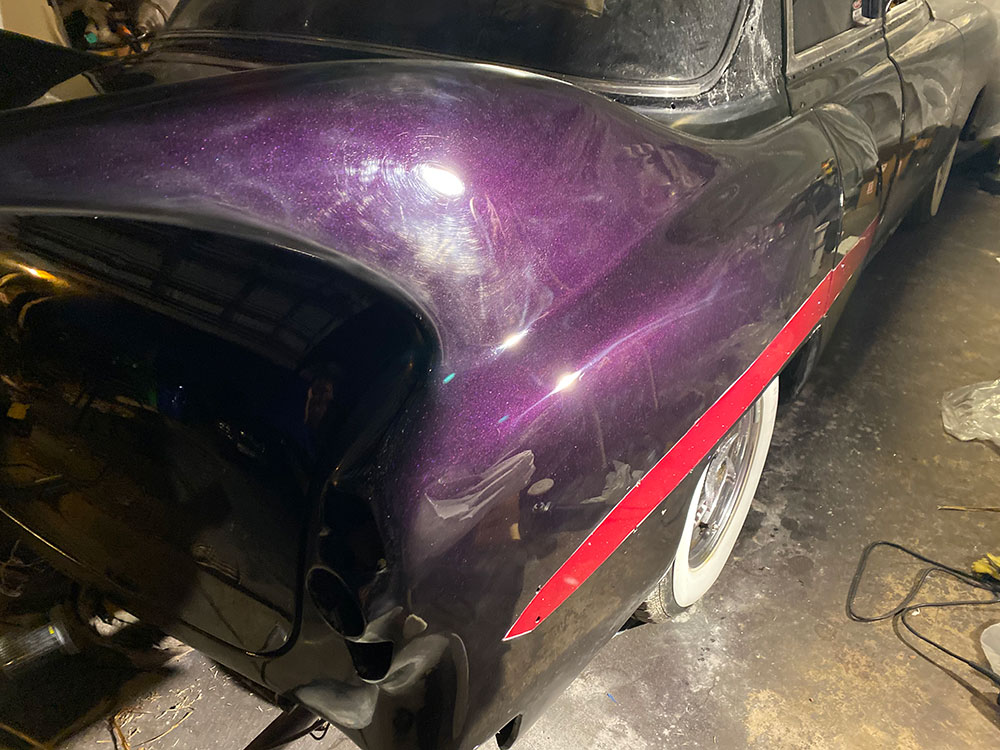
First color sanding and buffing 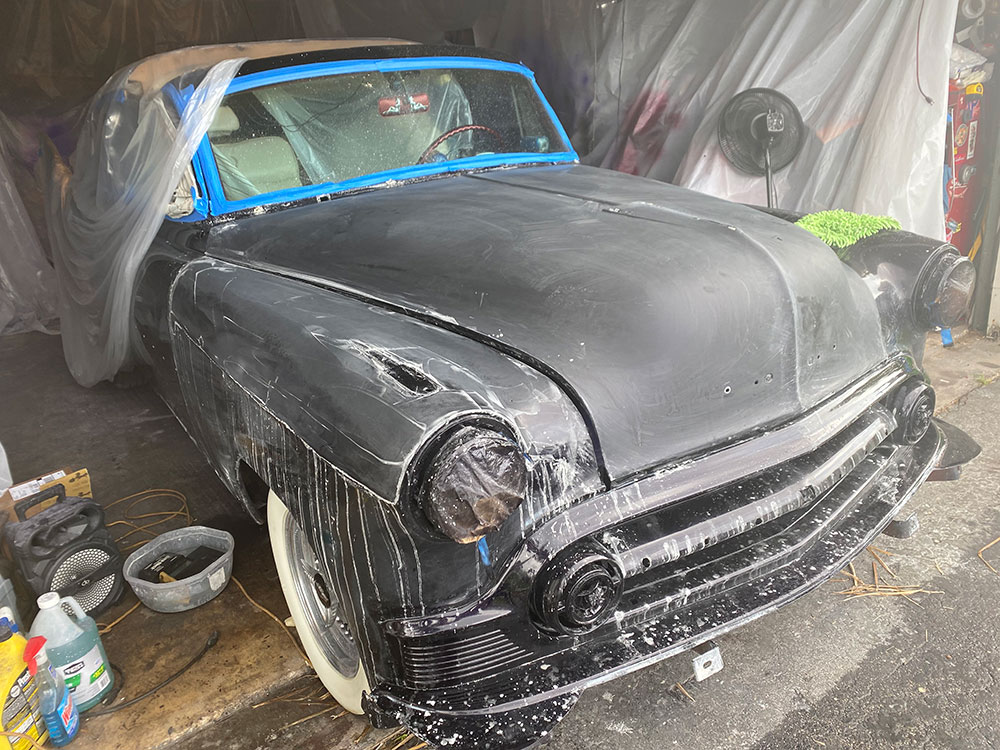
Color sanded entire car, buffed, found flaws, recoated, resanded, rebuffed 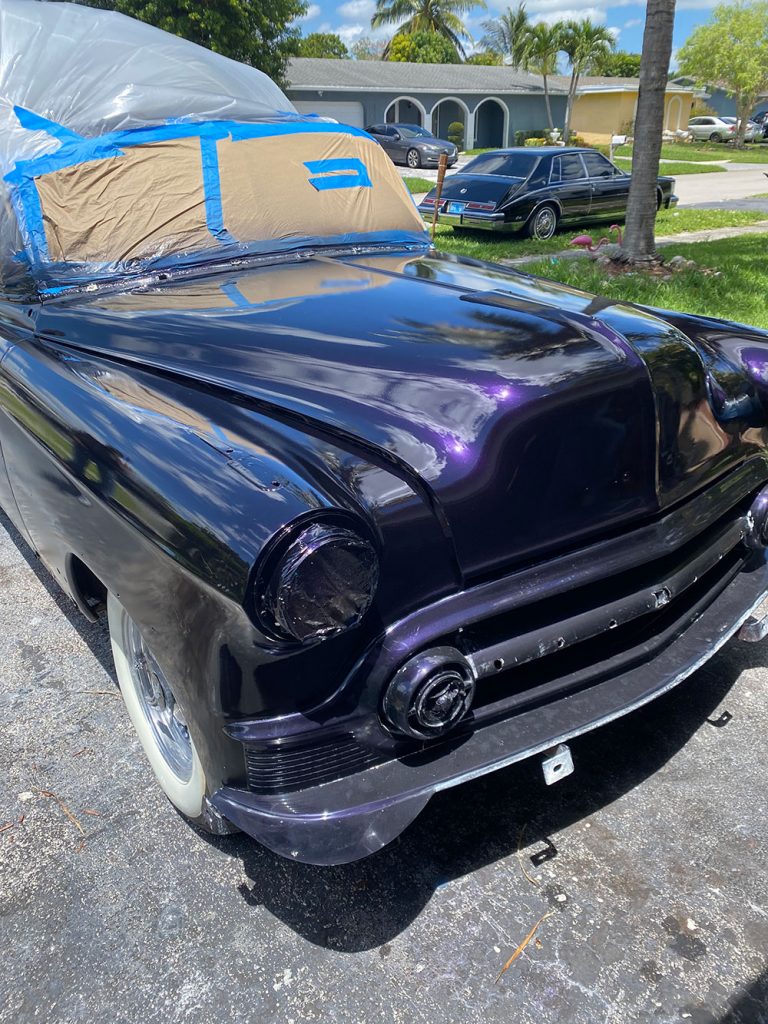
Final “Flow Coat” or clear (double coat of clear sanded in between) 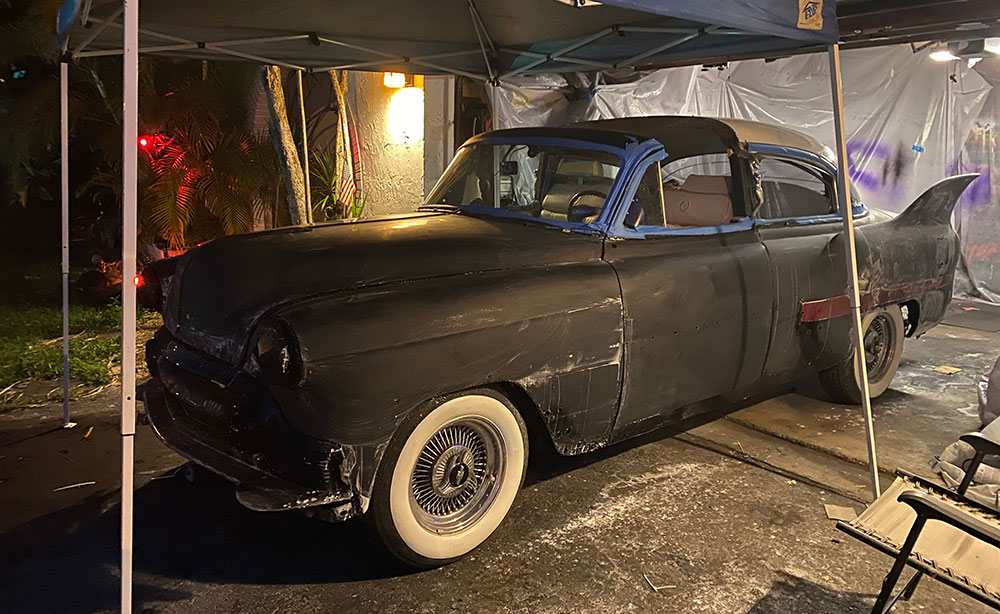
Final Color Sanding the Flow Coat 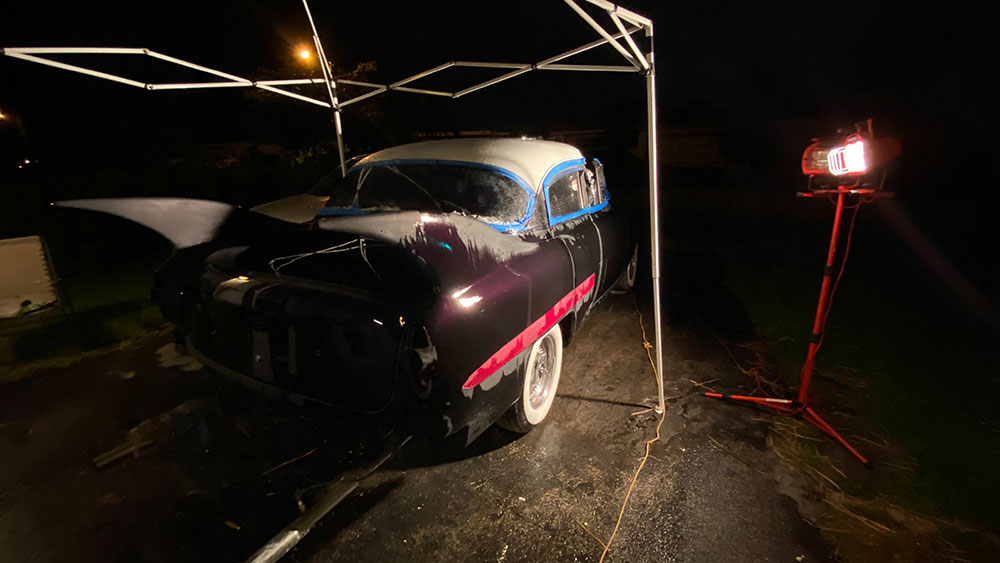
worked at night… too hot during June Florida days. 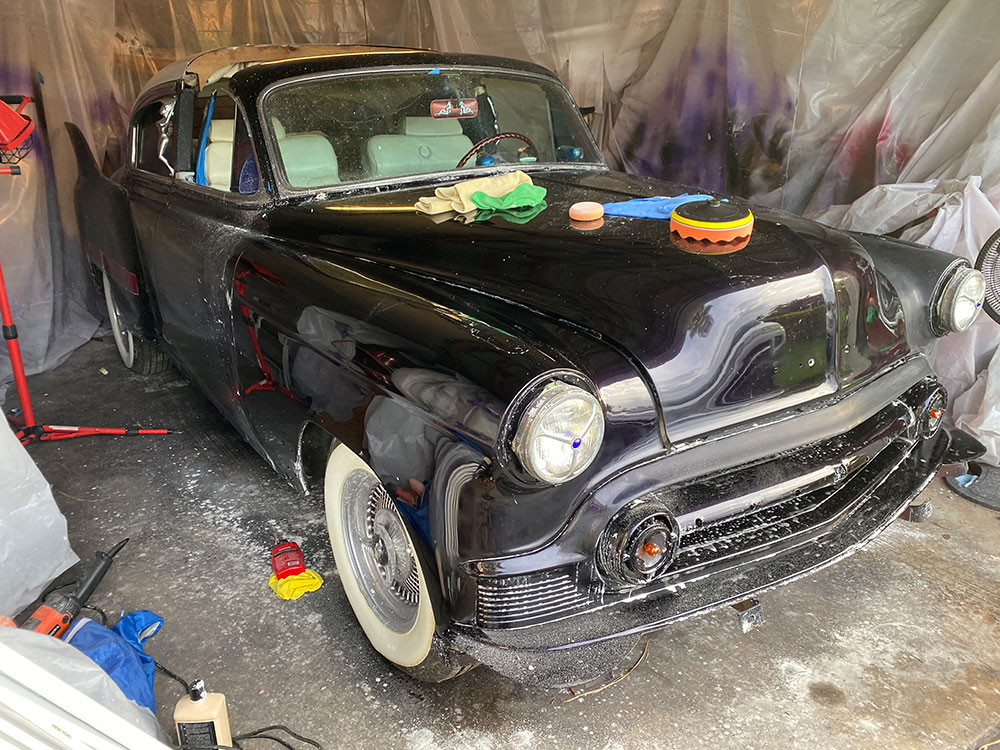
Final buffing and polishing 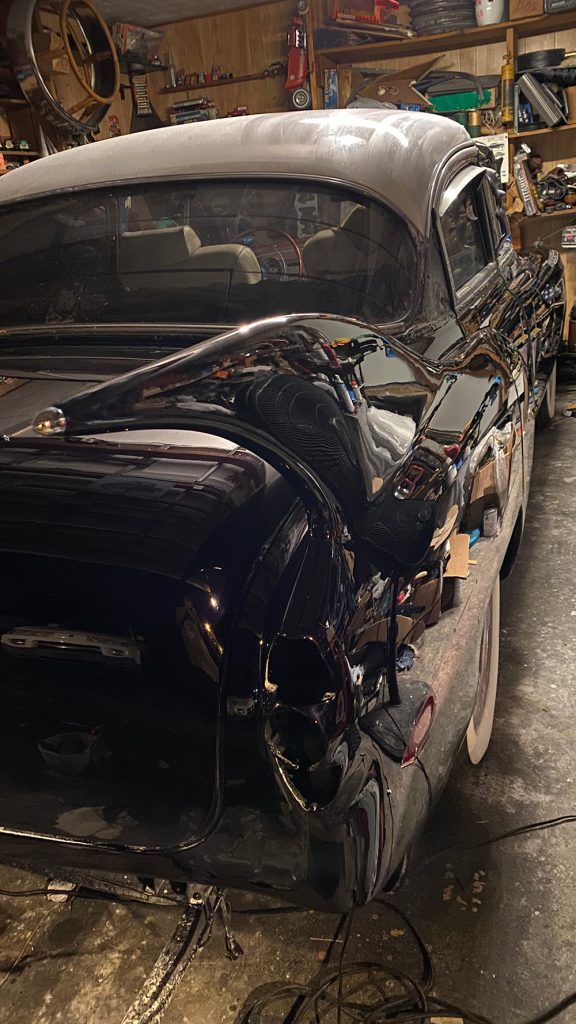
Flow coat polished, July 2020 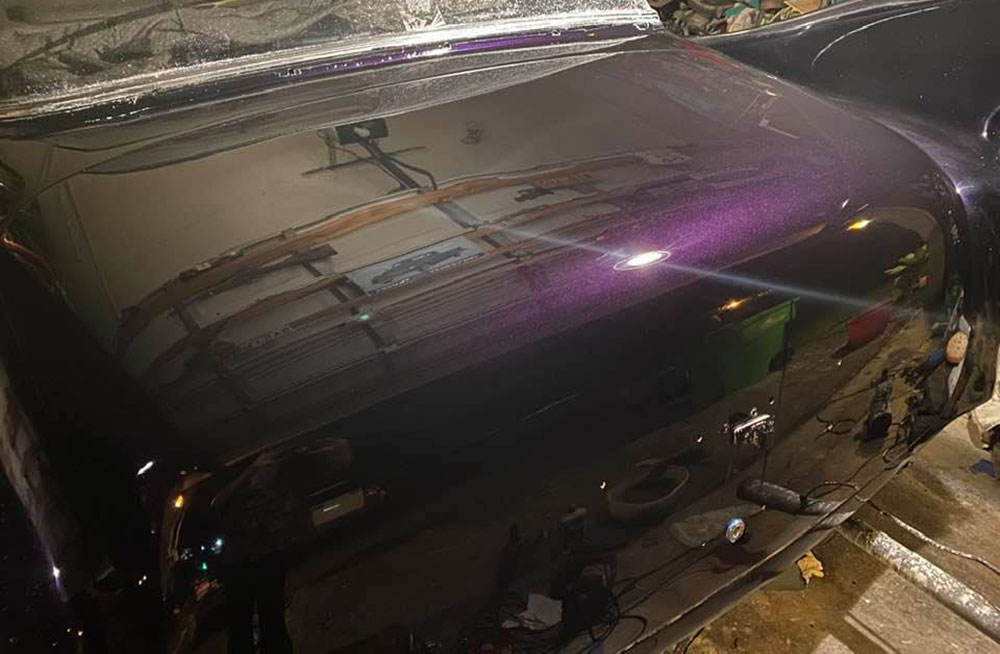
Flow Coat polished, July 2020 
Polished and putting her back together, July 2020 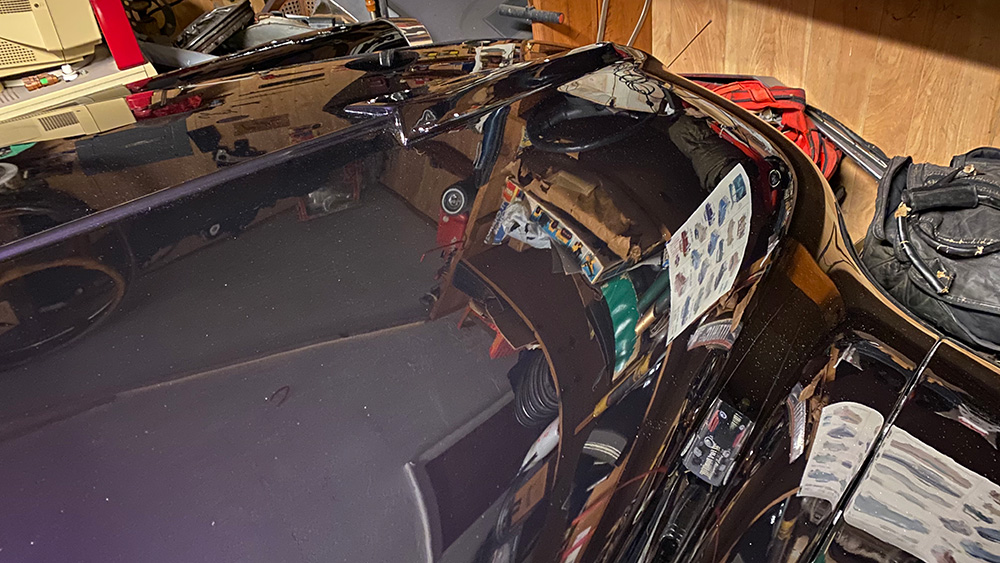
Flow Coat polished, July 2020. “Like a mirror”. 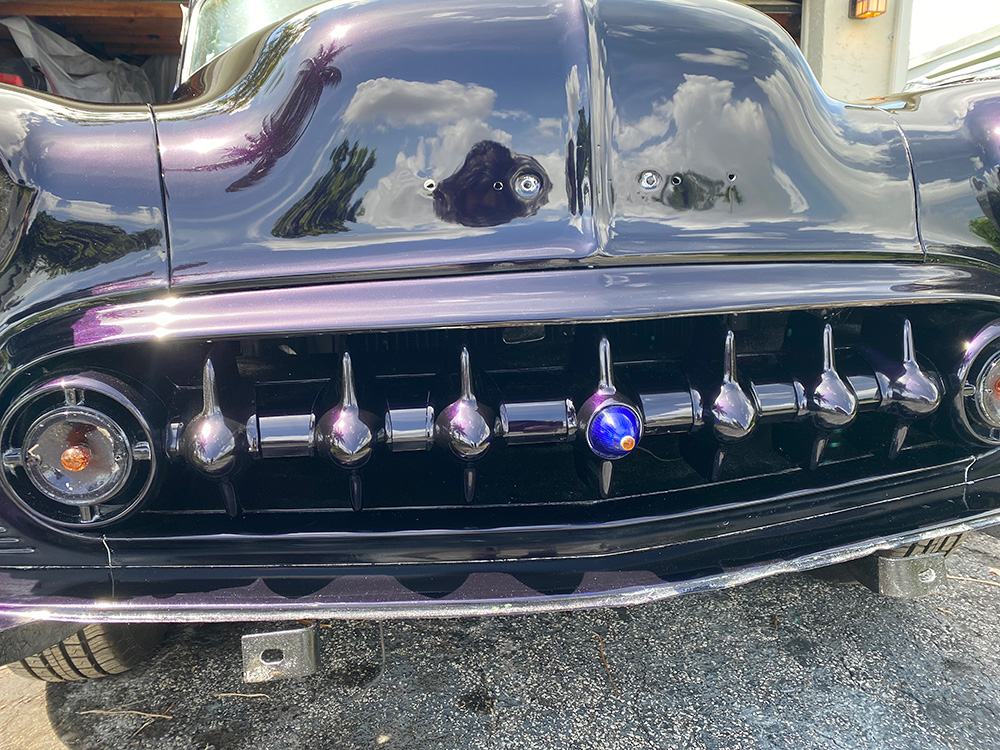
Polished and putting her back together, July 2020 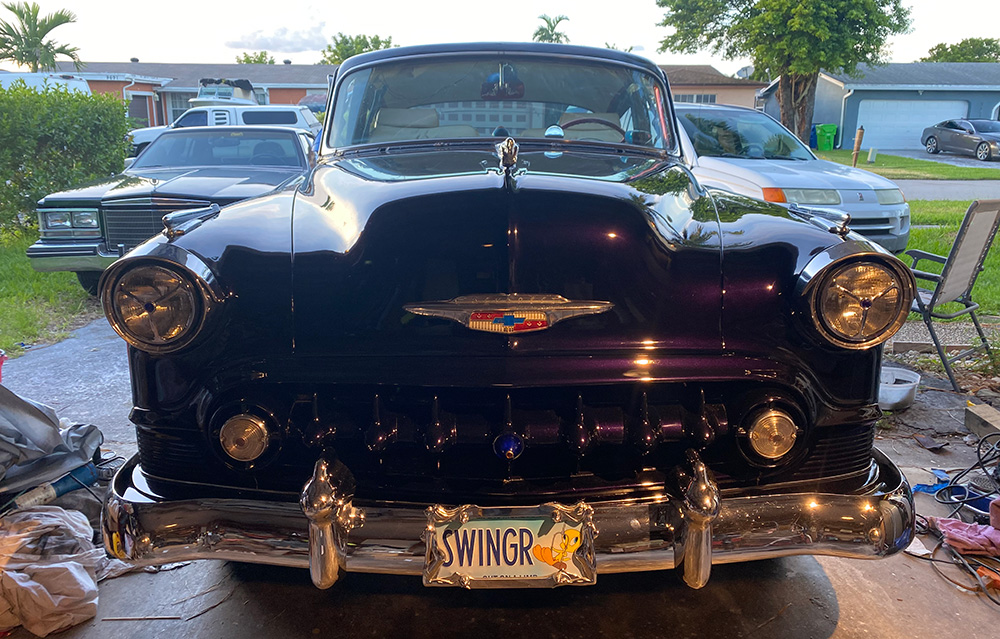
Polished and putting her back together, July 2020 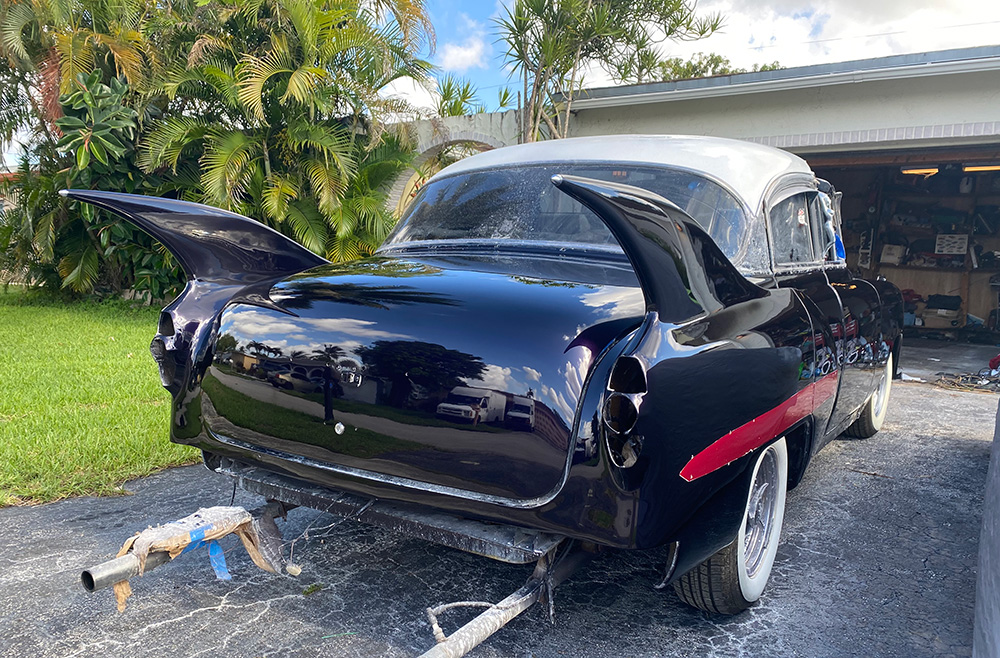
Final stages of buffing, July 2020 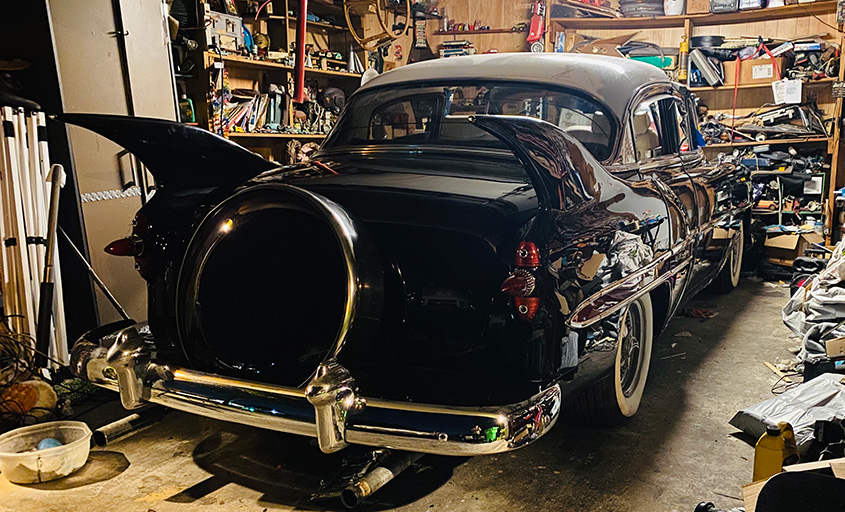
Polished and putting her back together, July 2020 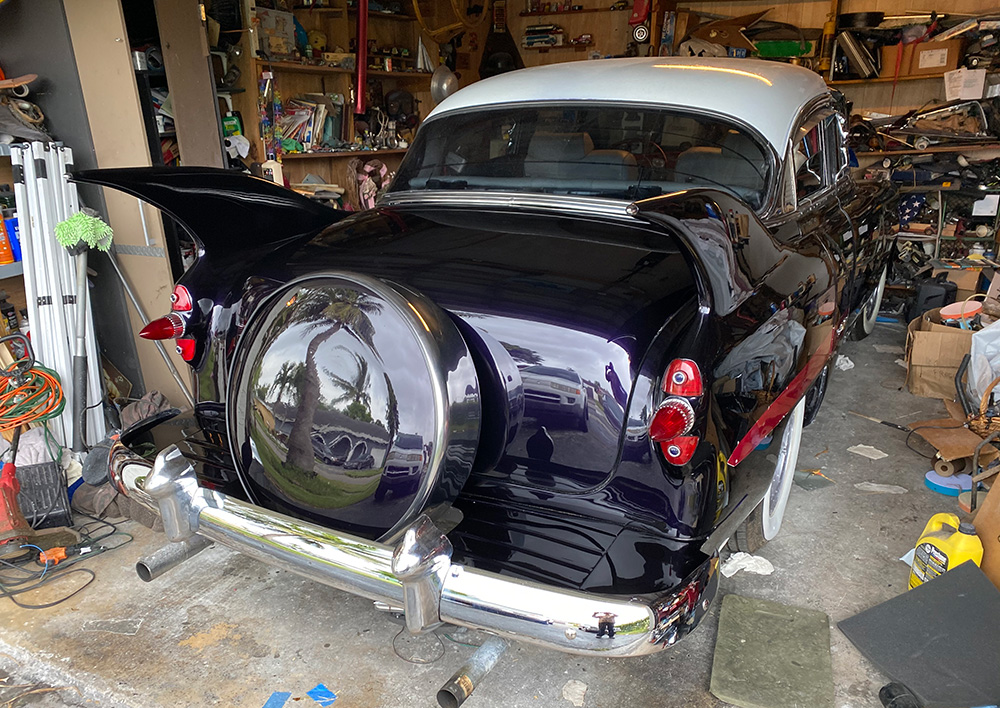
Polished and putting her back together, July 2020
When Covid-19 hit and caused everything to shut down in mid-March, 2020, like a lot of people I started working from home. This gave me extra time each day (from not traveling to work) to spend on the car. So pretty much every day as soon as my job was completed, I headed out to the garage, running that polishing wheel until my hands hurt. I had laid the clear on pretty heavy (I learned my lesson) and was determined not to burn through anymore paint. With the exception of a small spot on the bottom of one door, I met that goal. I honestly must have put between 60 and 100 hours into this paint project. Now I know what pro’s charge what they charge. It’s worth their price.

Finally, in mid-July, 2020, she was all polished and (mostly) back together!
