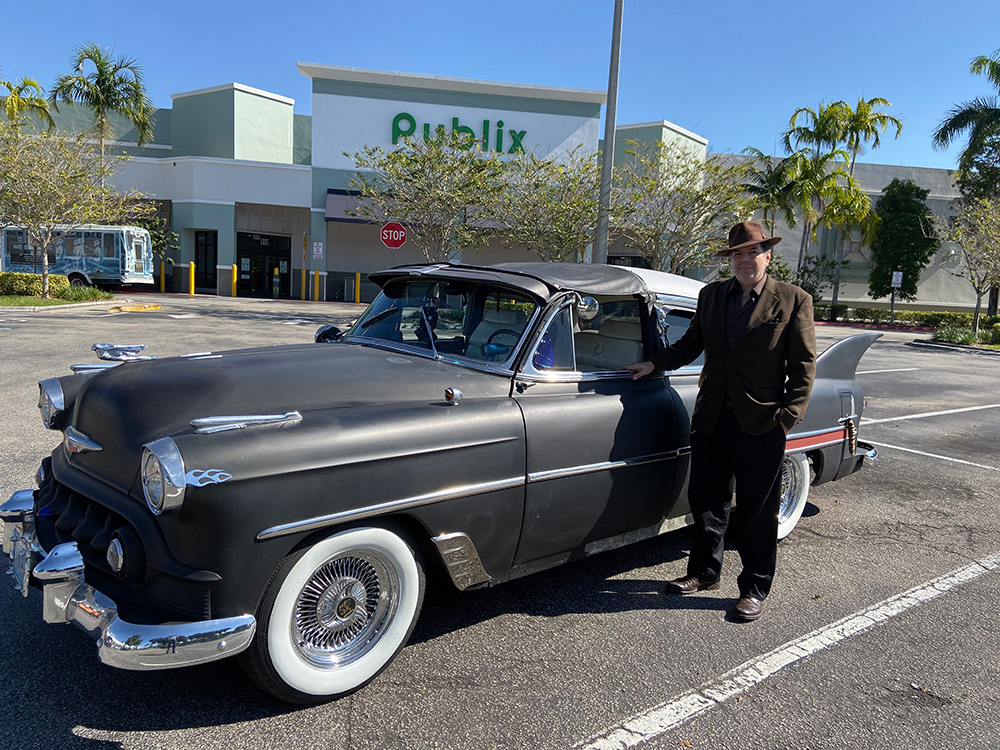
Yeah that’s me, workin’ hard on my wheels.

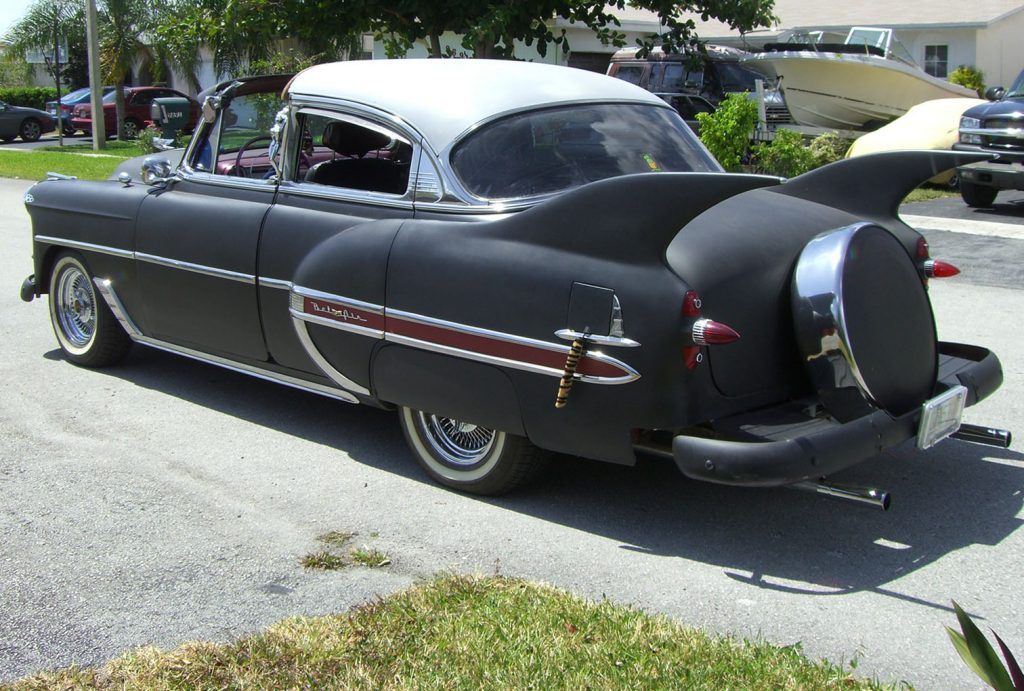
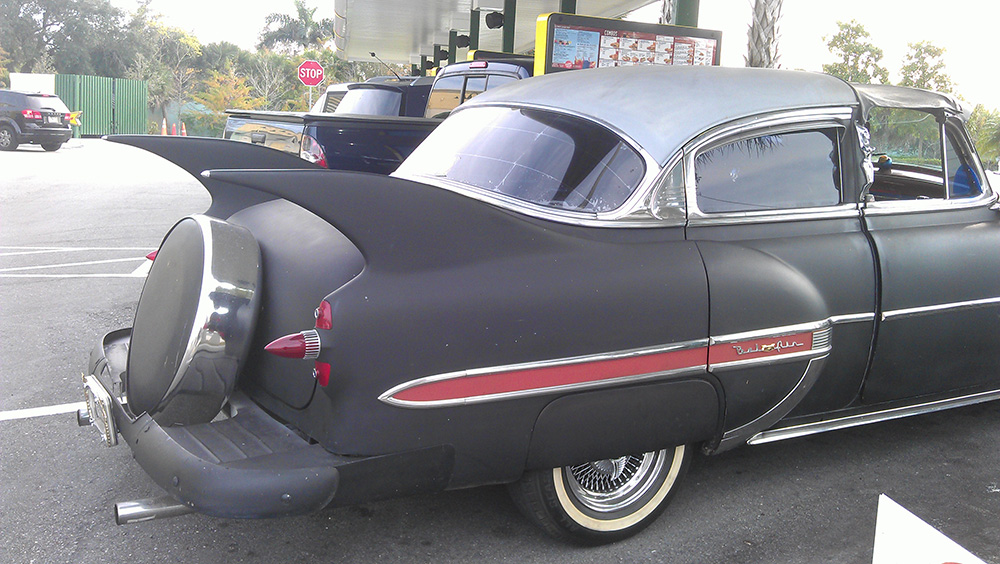
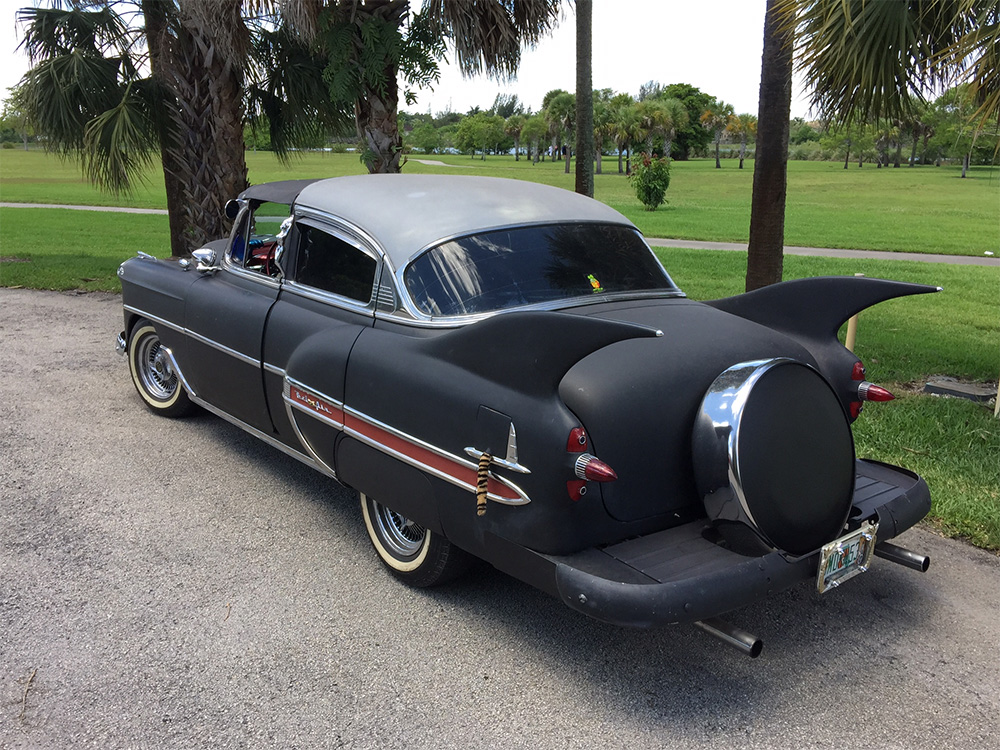
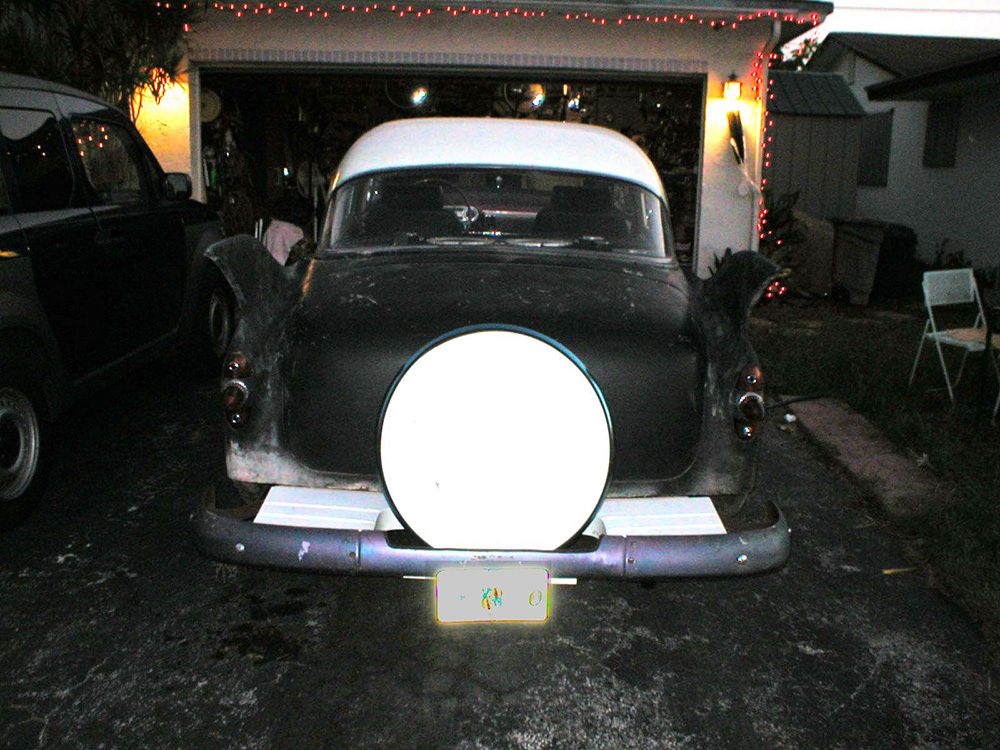
1953 Chevy Belair Hotrod with FINS!
This section is going to take some time to put together. I’ve been working on this rod since May of 1990, and I’ve tried (at least in the last 20 years since I got a digital camera) to document the process. It’s been tough. I’ve done 99% of the work myself, with 1% going to a to the guy who painted it in ’91, the machine shop that rebuilt the head in ’92, and the guys that mounted the tires on the rims. A big shout-out goes to my father, who helped with body work and mechanical when he was well enough to (then passed away before he could help me with the fins, the jerk LOL), and a couple of friends like Steve, Jeff, and neighborhood motorheads that ran over every time they heard it start. The rest was me, all alone, sometimes until 3 in the morning.
53 Chevy, stripping down the paint 
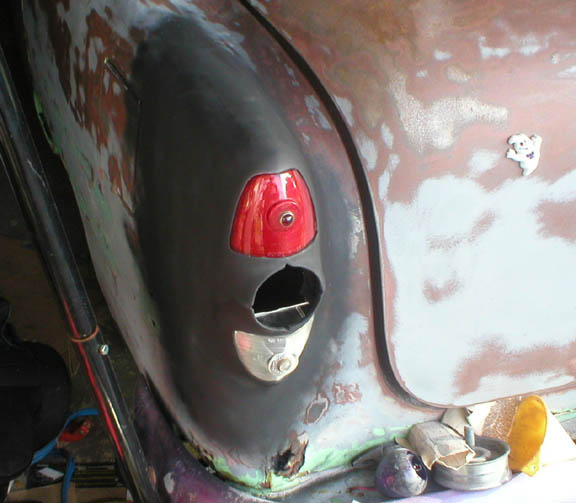
Frenched tail lights in progress
I guess the main thing you’re wondering is how I got those Batman Shark Fins on the tail end. Some of you will cringe when you find out. Keep in mind, I’m not a metal man, can’t do fabrication, and don’t have the unlimited funds to pay somebody XXX thousands of dollars to do it for me. I’m a regular guy with an old car, a dream, and (only for the last 20 years) a garage. So how did I do the fins? The short answer is fiberglass. Here’s the long answer:
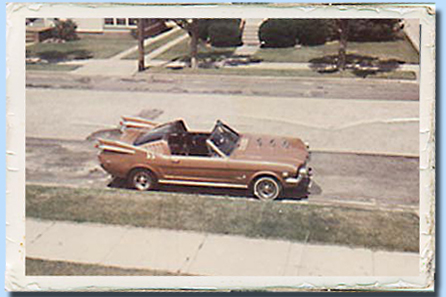
My Dad and I started talking about some of the cars he had customized, including the ’66 Mustang. He told me how he chopped the fins “off the ass end of a ’59 Caddy with a K-Bar and a hammer”, riveted them to the ’Stang, and filled in the seams with fiberglass and Bondo. “You could make fins really easy out of sheet metal,” he told me, “Like the fins on the ’64 Caddy.” 1964 Cadillacs had pretty small, straight fins. That would have been easy. Bend some thin sheet metal, rivet it on, fill it in with Bondo. He even bought some posterboard and made a mock-up, full size. Great idea, but the straight, long 3” high fins didn’t look right on the back of the mostly round-shaped ’53 Chevy. So I started drawing up some idea. First, with the ’64 Caddy fins. Then with 1960 Caddy fins, larger and more pronounced. They looked better, but still not quite right. They still looked like someone slapped 60 caddy fins on a car they didn’t belong on. So I started from scratch. As I described on the “Fins” page, I came up with my own design, then went from there.
Next came experimentation with paper, cardboard, and thin wood paneling, cutting the pieces and holding them up to see what they’d look like on the car. I made a final pattern out of 1/4” plywood, and my father and I tried to figure out how to get them on the car. First we thought of having them cut and bent at a machine shop, but the cost was going to be a lot more than I wanted to deal with. They would have to be welded on anyway, and I didn’t know how to weld at the time. Next, dad suggested fiberglass. I never worked much with fiberglass, and only knew the basics of how to work it. He said he’d help. Unfortunately, the end of his time came a little sooner than expected, and on Halloween day, 2002, he left this plane of existence for that big antique car show in the sky.
That put the brakes on the fin project for a while. I was kind of lost on how to proceed, and concentrated on other parts of the car instead. Between 2002 and 2005, I stripped the body down to the metal, fixed the rust with sheet metal and fiberglass, reworked the interior with the seats out of the old man’s ’87 Eldorado, mounted the continental kit (all custom), and reworked the engine with the Clifford intake, Fenton headers, Holley carb and 12 volt system. Somewhere in 2005 I must have had a lot of time on my hands, because I sat down and figured out a way to turn those crazy lookin’ fins into reality:

Melamine. That was the answer. This is the part where metal fabricators will cringe. I know it sounds weird, but it worked. I knew it wouldn’t warp like wood, and was a lot easier to work with than metal. (Melamine is a composite made of ground wood and glue, essentially).
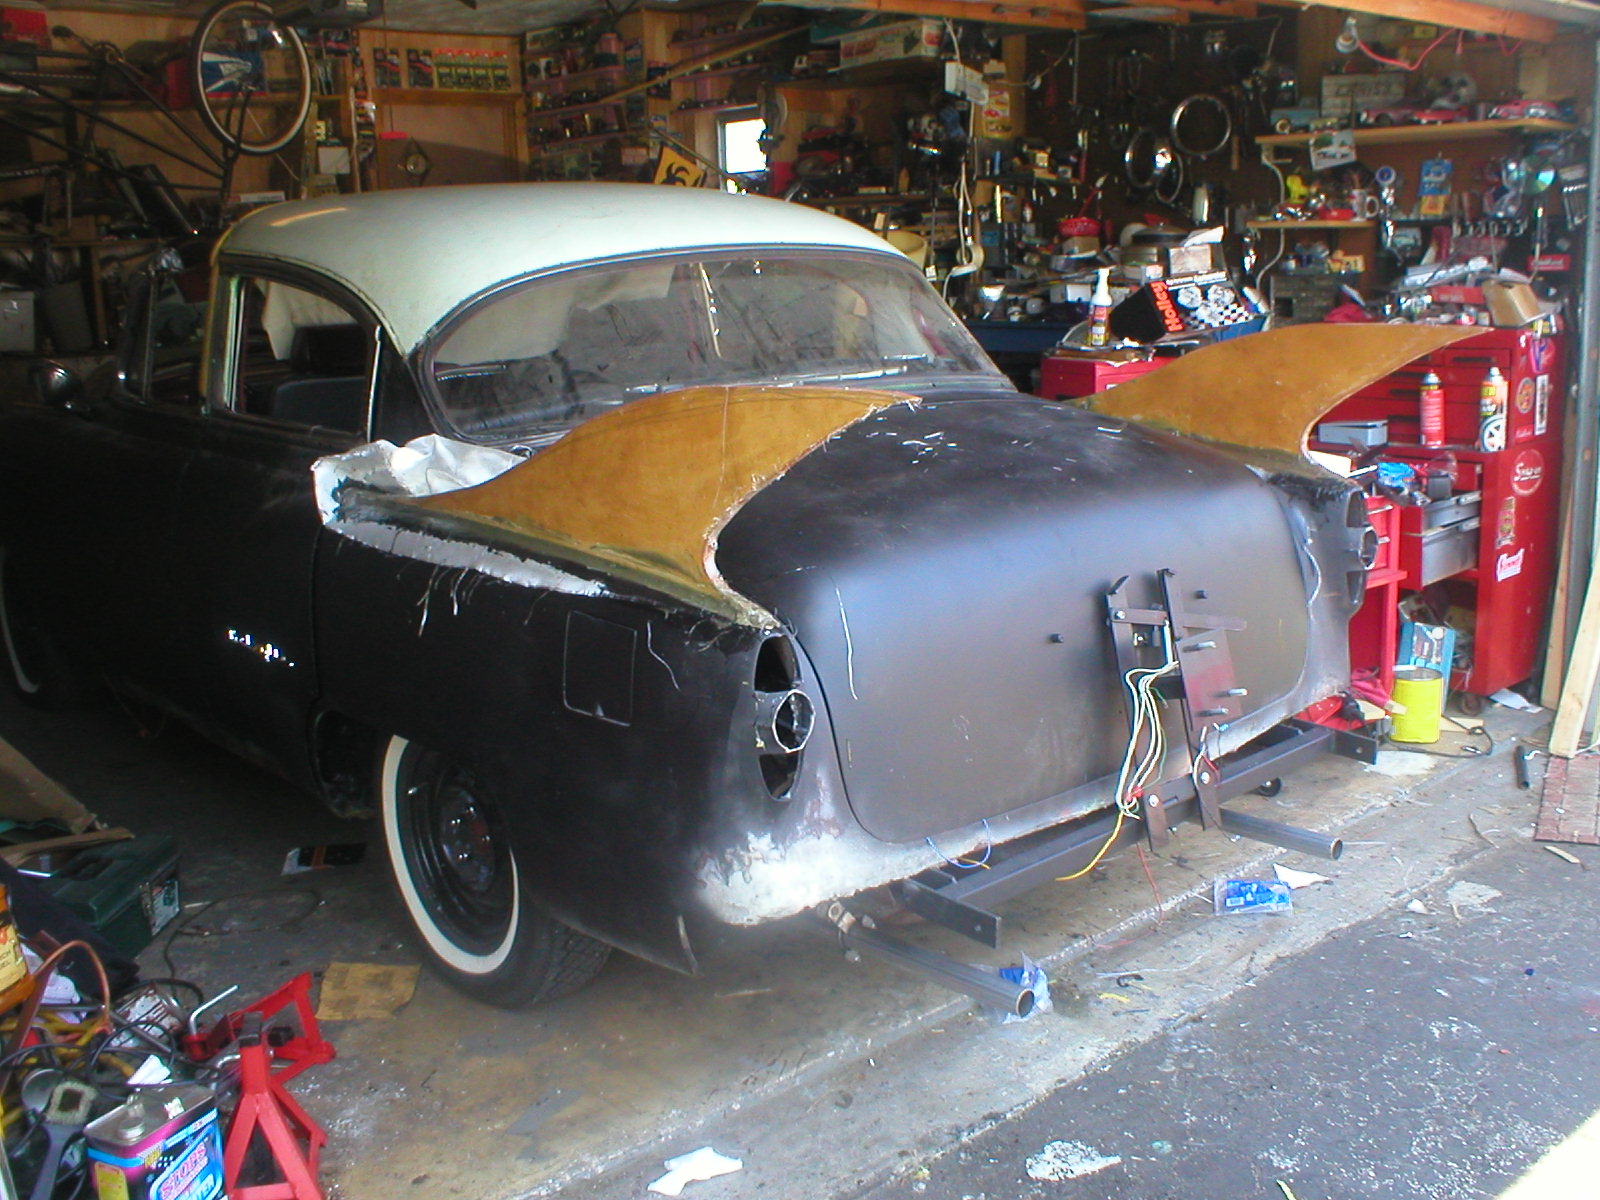
So I made a pattern on paper, traced my pattern onto 1/2″ wood and made “dummy” fins to see what they would look like. When I was happy with the style, I transferred the pattern onto 3/4” melamine, drew 3 tabs protruding about 3”out the bottom of the fin unit, and cut them out with a jig saw. The hard part was getting them both exactly the same, but I did it. Then I used a grinder to cut 3 rectangular holes on the top of each fender, and slid the tabs into the holes. I used fiberglass reinforced Bondo as a sort of glue between the fenders and the fins. Viola! The fins were on the car. I screwed 1”x2” strips into the tabs inside the trunks, securing the fins in place. Boy, did they look silly. But it was a start. Next, I filled in the space between the melamine fins and the fender with more Bondo-glass, building it up a little at a time. Then came the layers of fiberglass. That was the first “hard part”, as I twice had trouble with the resin not curing (cheap crap) and had to scrape it off and do it over. If I remember right, I put two layers of fiberglass sheets, then a layer of Bondo-glass, then another layer of fiberglass, maybe more until I got them built up to the right width. There was a lot of grinding and sanding in between, until finally I was able to start laying on the final coats of Bondo to get the right contours.
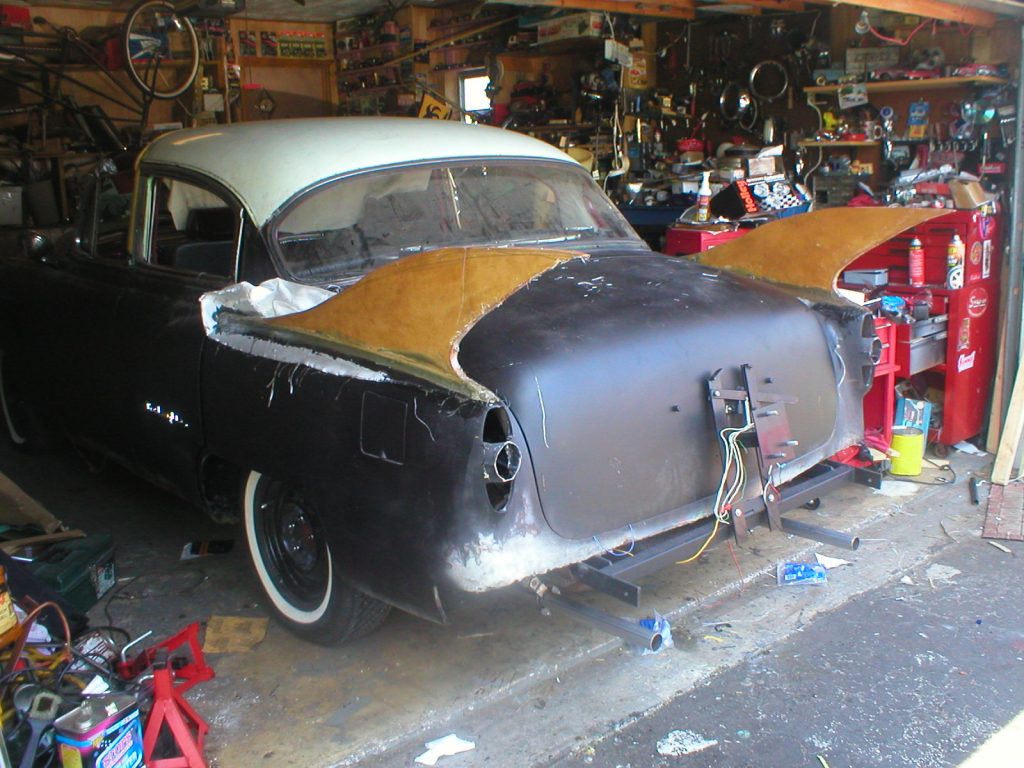
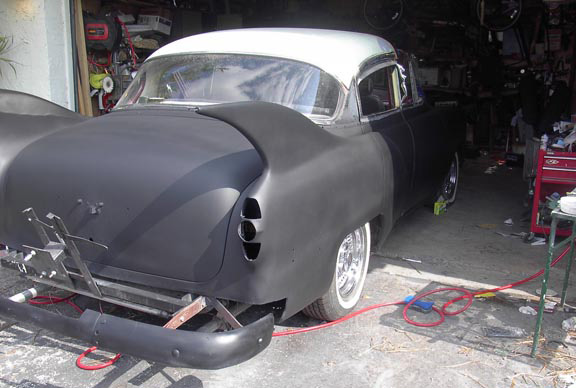
Fins in progress, Fiberglass 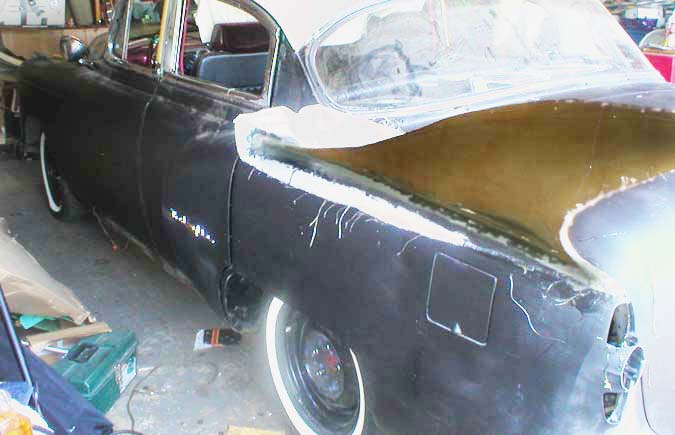
Fins in progress, Fiberglass 
Fins in progress, Fiberglass 
Fiberglass, Bondo, Sand, Repeat. 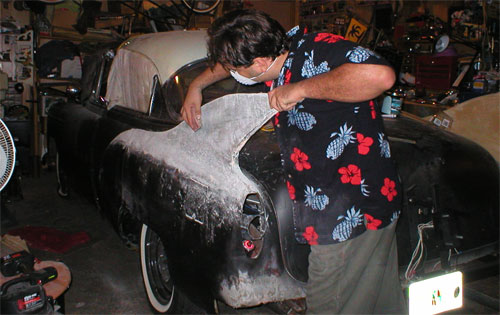
Shaping the fins

Don’t let anybody fool you. Bondo, and all other plastic body fillers, are a big pain in the ass. They were never meant to be used for building up and contouring parts. They’re supposed to be used to even out the top layer of metal before painting. Any good body man will tell you that most of your bondo should end up on the shop floor. But without a machine shop, and with a lot of patients, you can do wonders with it. The secret is to lay it on thin. Glooping it up heavy almost never works right. It either cures too fast and gets air holes in it, or in never cures at all and becomes a wad of crumbly dough. Sometimes you’ll get a can of it that works great, sometimes the can will be defective and let in moisture, and you won’t know it until you have to scrape it off the car. I did a good amount of scraping, but in the end, after filing, sanding, coating, over and over again, after doing this every chance I got for about a YEAR, I finally finished the fins. Finally, finally.
Fins in 2005 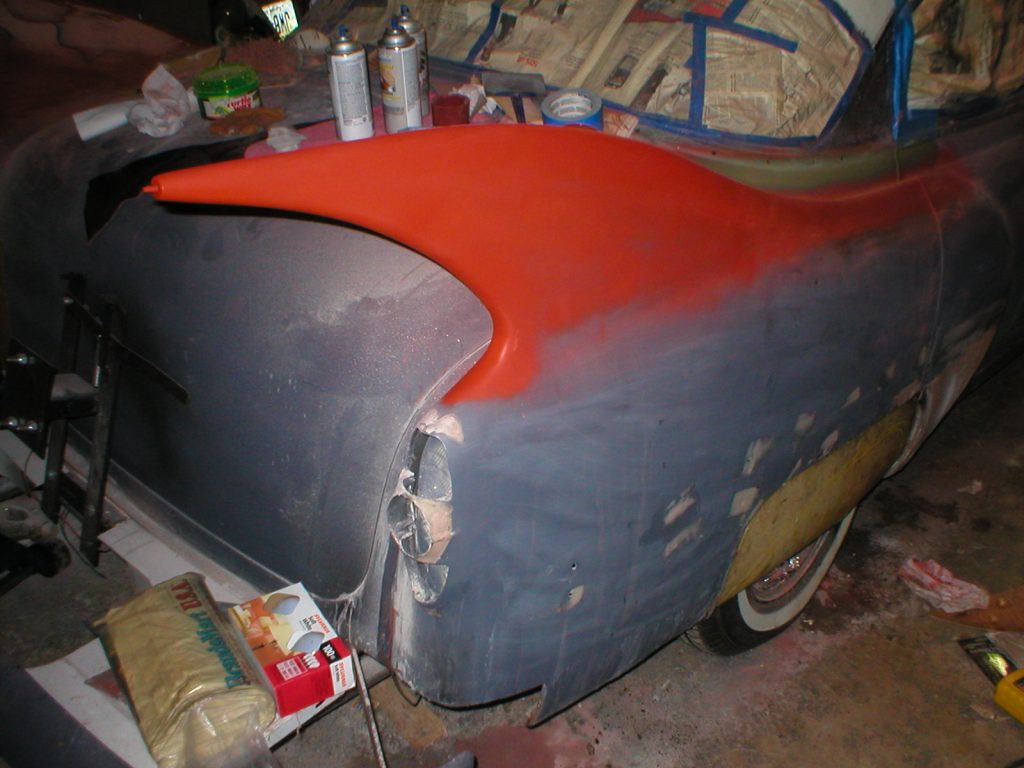
Fins in progress, Final contouring 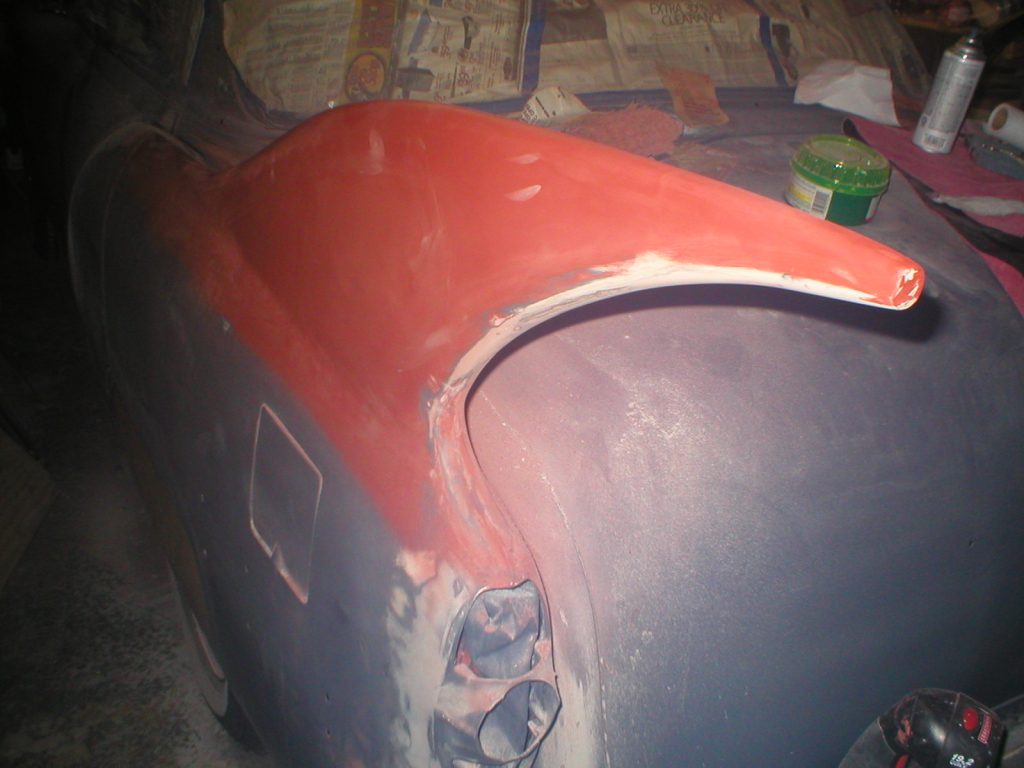
Fins in progress, Final contouring 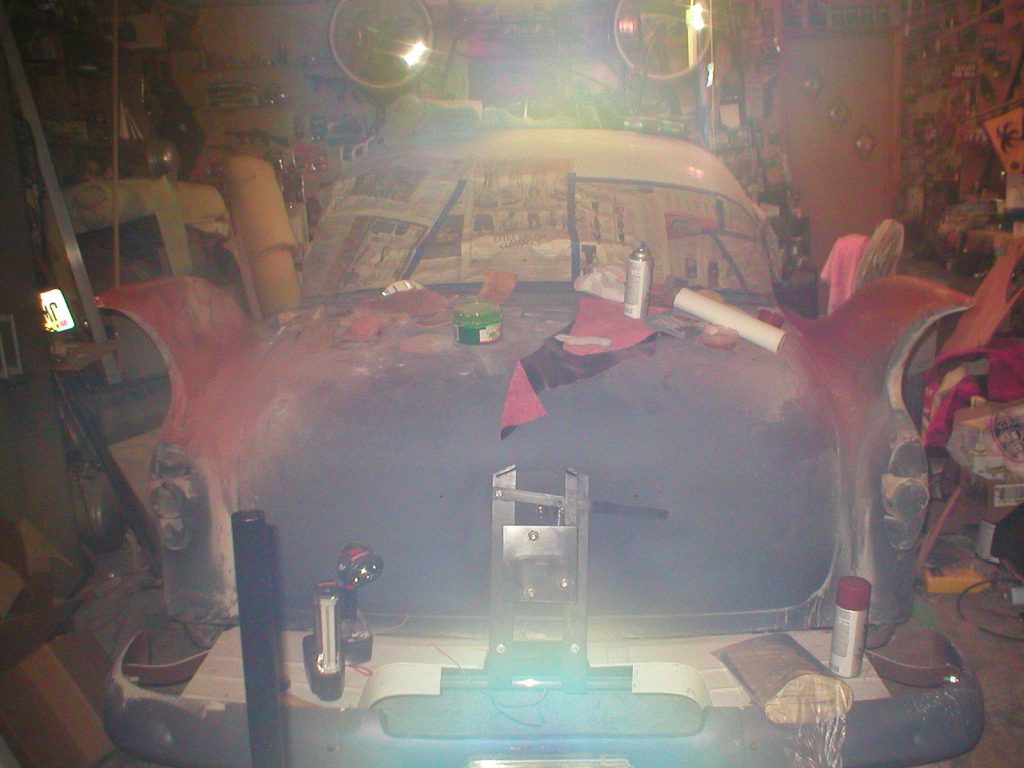
Fins in progress, Final contouring
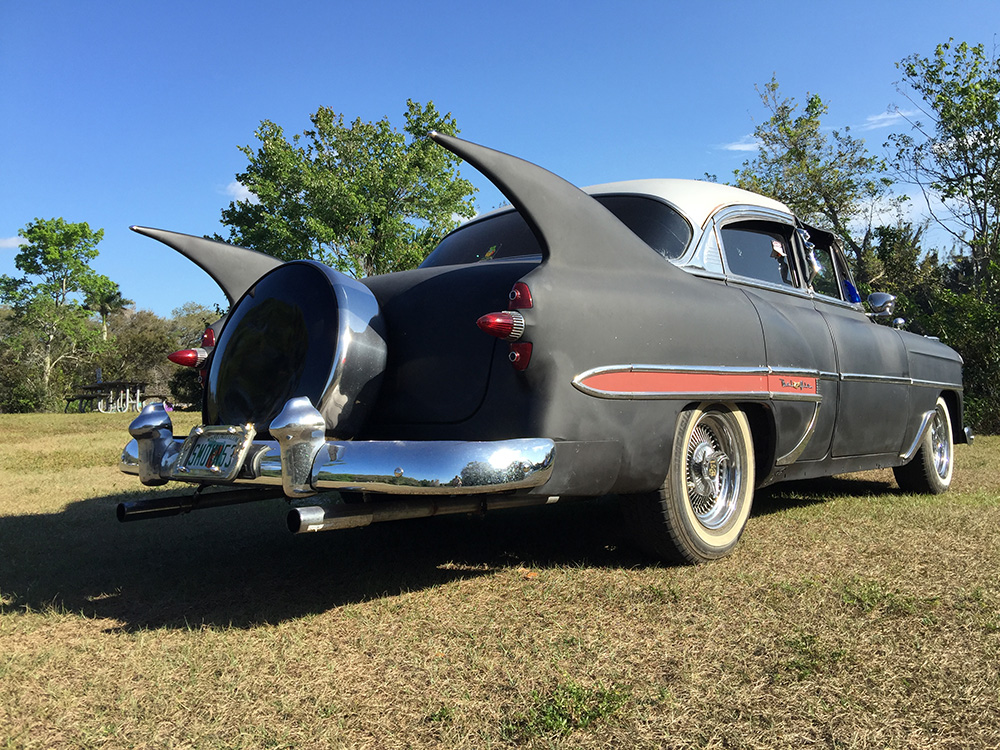
And I didn’t call them finished, until I had both sides contoured exactly the same way, all done by hand sanding, all the pin holes filled in, all the rough spots smoothed out, several layers of high-build primer sprayed and sanded, and a final epoxy seal coat sprayed. Finally, they were done. I screwed a couple of chrome bullets into the points in 2006, and declared VICTORY!
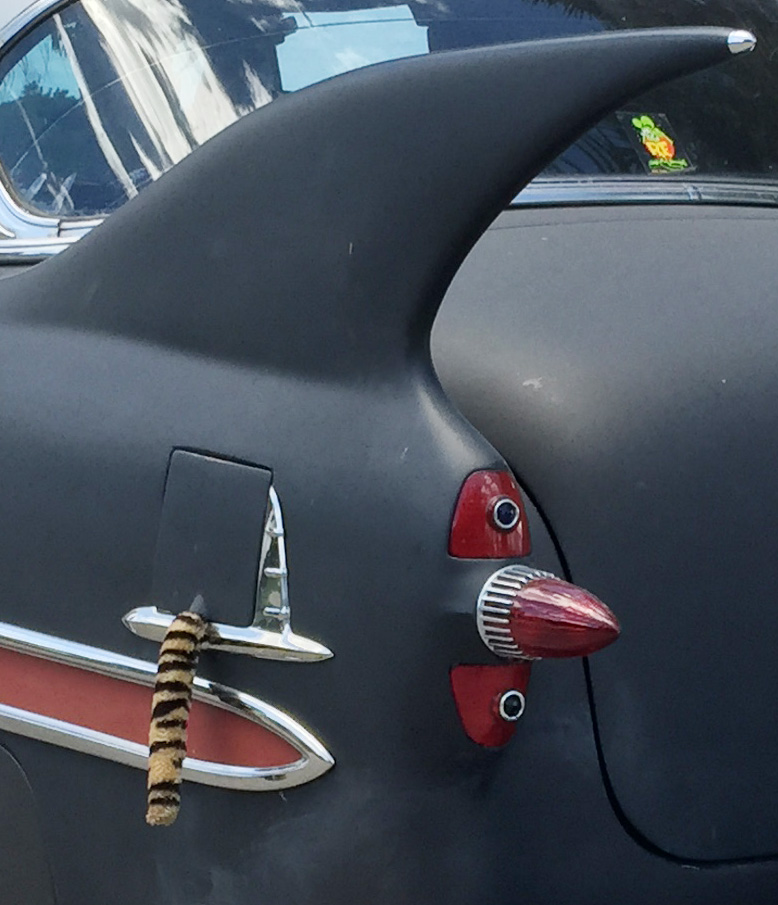
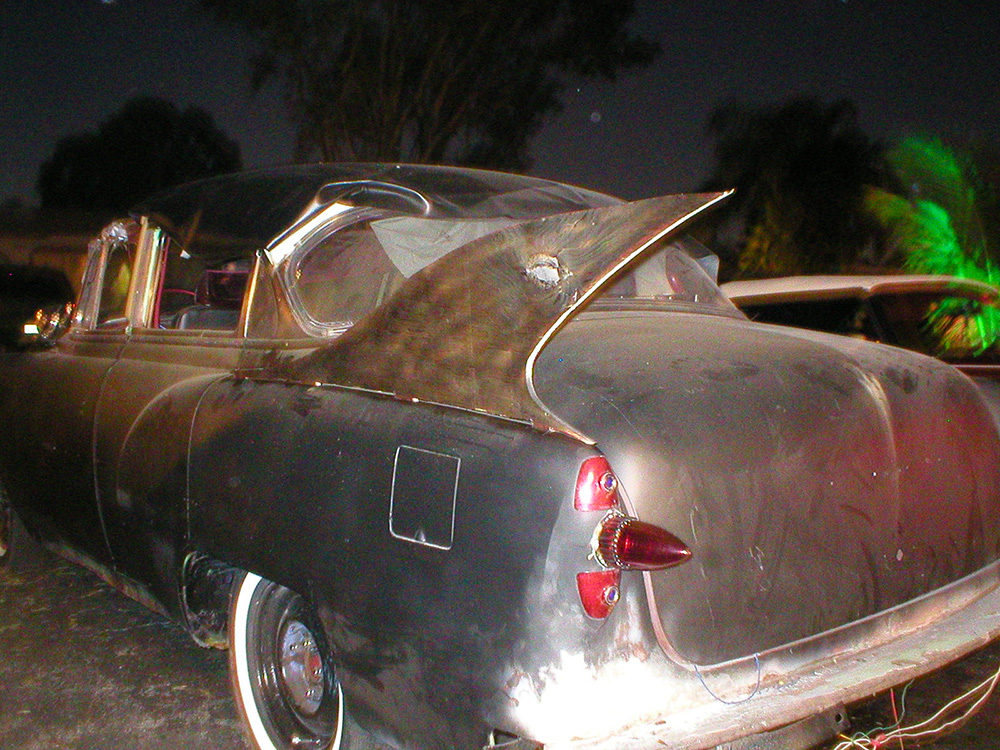
Fins finished on ’53 Chevy Custom 2007 
Fins finished on ’53 Chevy Custom 2007
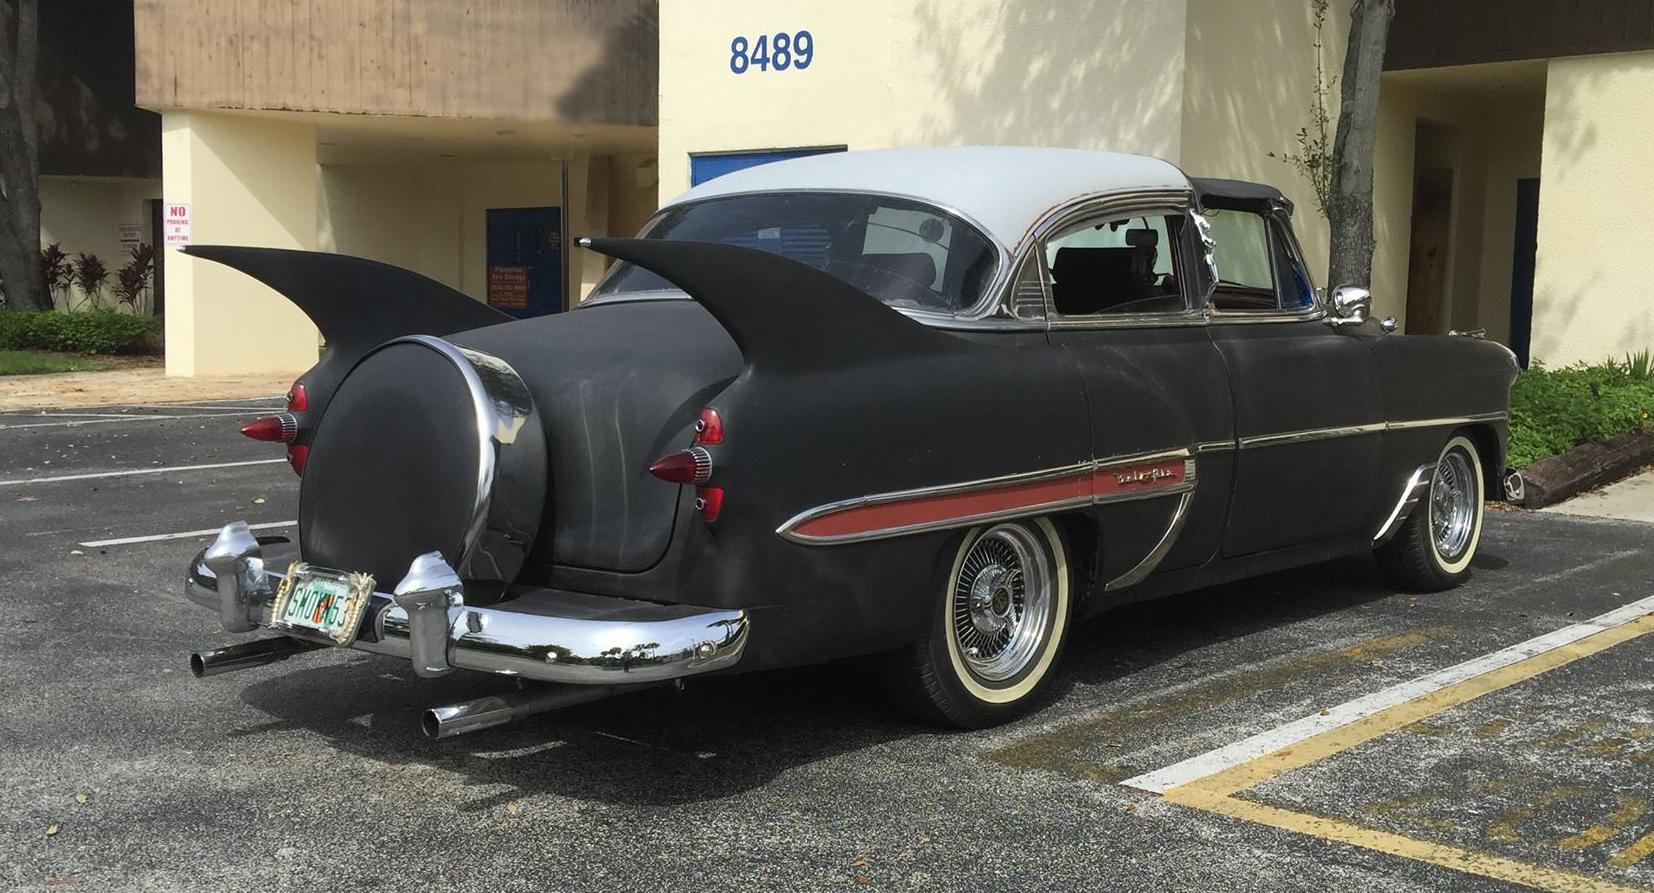
Once they were finally done, I continued to work on the body and mechanical. By 2007 she was back on the road, running great and although only in primer, turning heads everywhere. She stayed in flat black primer until early 2020, when I finally got the nerve to do the new paint job. BTW…it amazed me how many compliments I got on the “satin” paint job.
Side note…remember, a long, long time ago when a “rat” was a hot rod that was fast as hell but needed body work or was in black or red primer, because the guy who had it spent all his dough on the engine and didn’t have any lettuce left to get the car painted? That’s what happened to me. Running great, but locked in primer as I spent years trying to decide whether to have a shop paint her or do it myself. Don’t ask me how the term “rat” or “rat rod” turned into the crazy, messy, dirty “design style” of today where they actually shoot clear over rust and call it “patina”. Pretty much every car I had in Jersey had “patina” and I got grief about it from just about everyone. I guess I’m showing my age there. Anyway, onward…